


bake club vol 6: pavlova
let's keep things light n sexy for valentine's day with this meringue based dessert

hi hi hello!
*This post contains affiliate links. That means that if you make a purchase after clicking on a link I may earn a small commission at no extra cost to you. *
The year that was January 2025 could not end quick enough! I can’t believe that month was 3 months long ugh. So, I’m thrilled to be ringing in the actual new year starting today. This month we are tackling PAVLOVA! Which ngl, I think this is the perfect dessert for a galentine’s gathering or for after an intimate Valentine’s day dinner for 2. You still get to indulge but you won’t be weighed down by rich chocolate cake and raspberries when it comes to indulging in other things later on in the night *wink wink*.
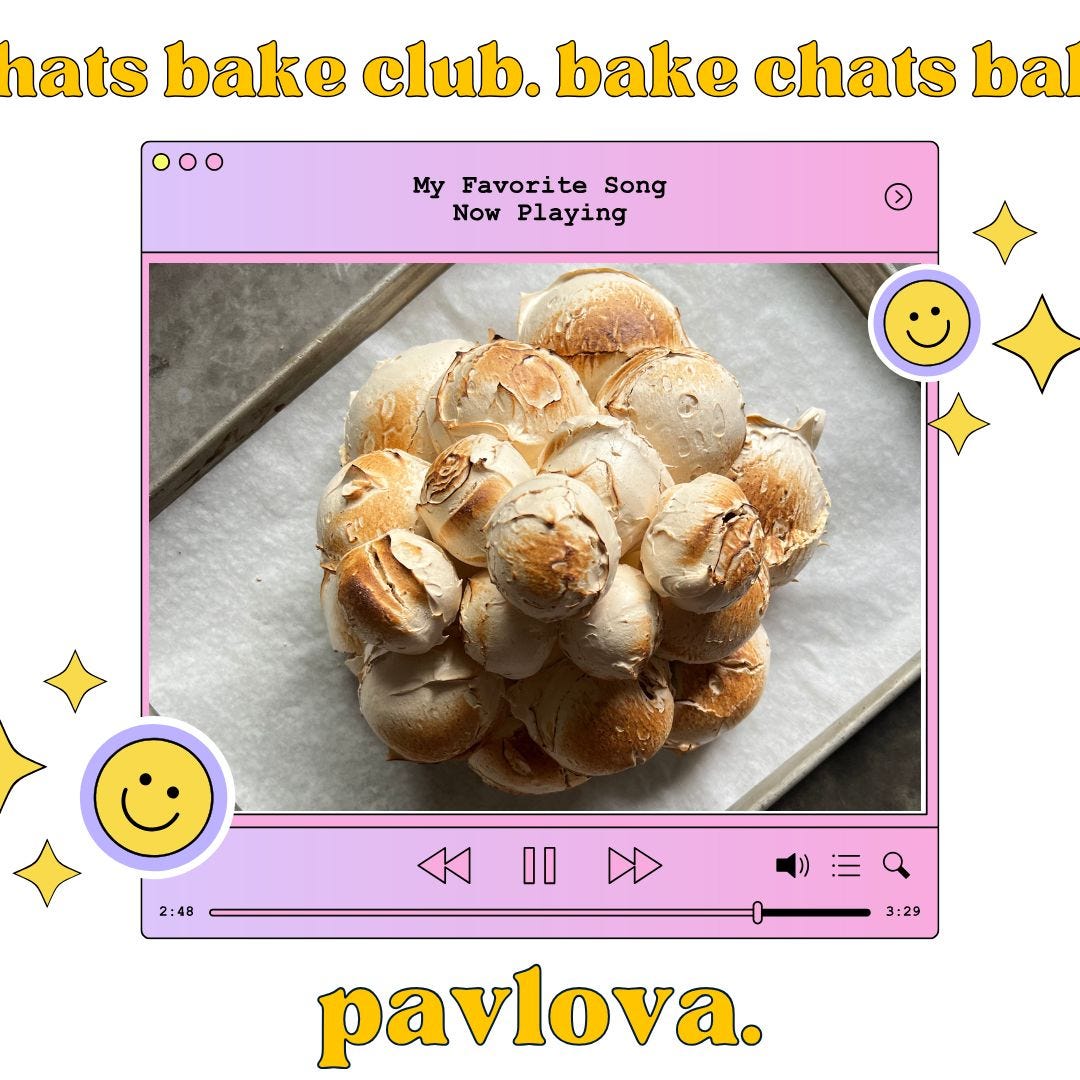
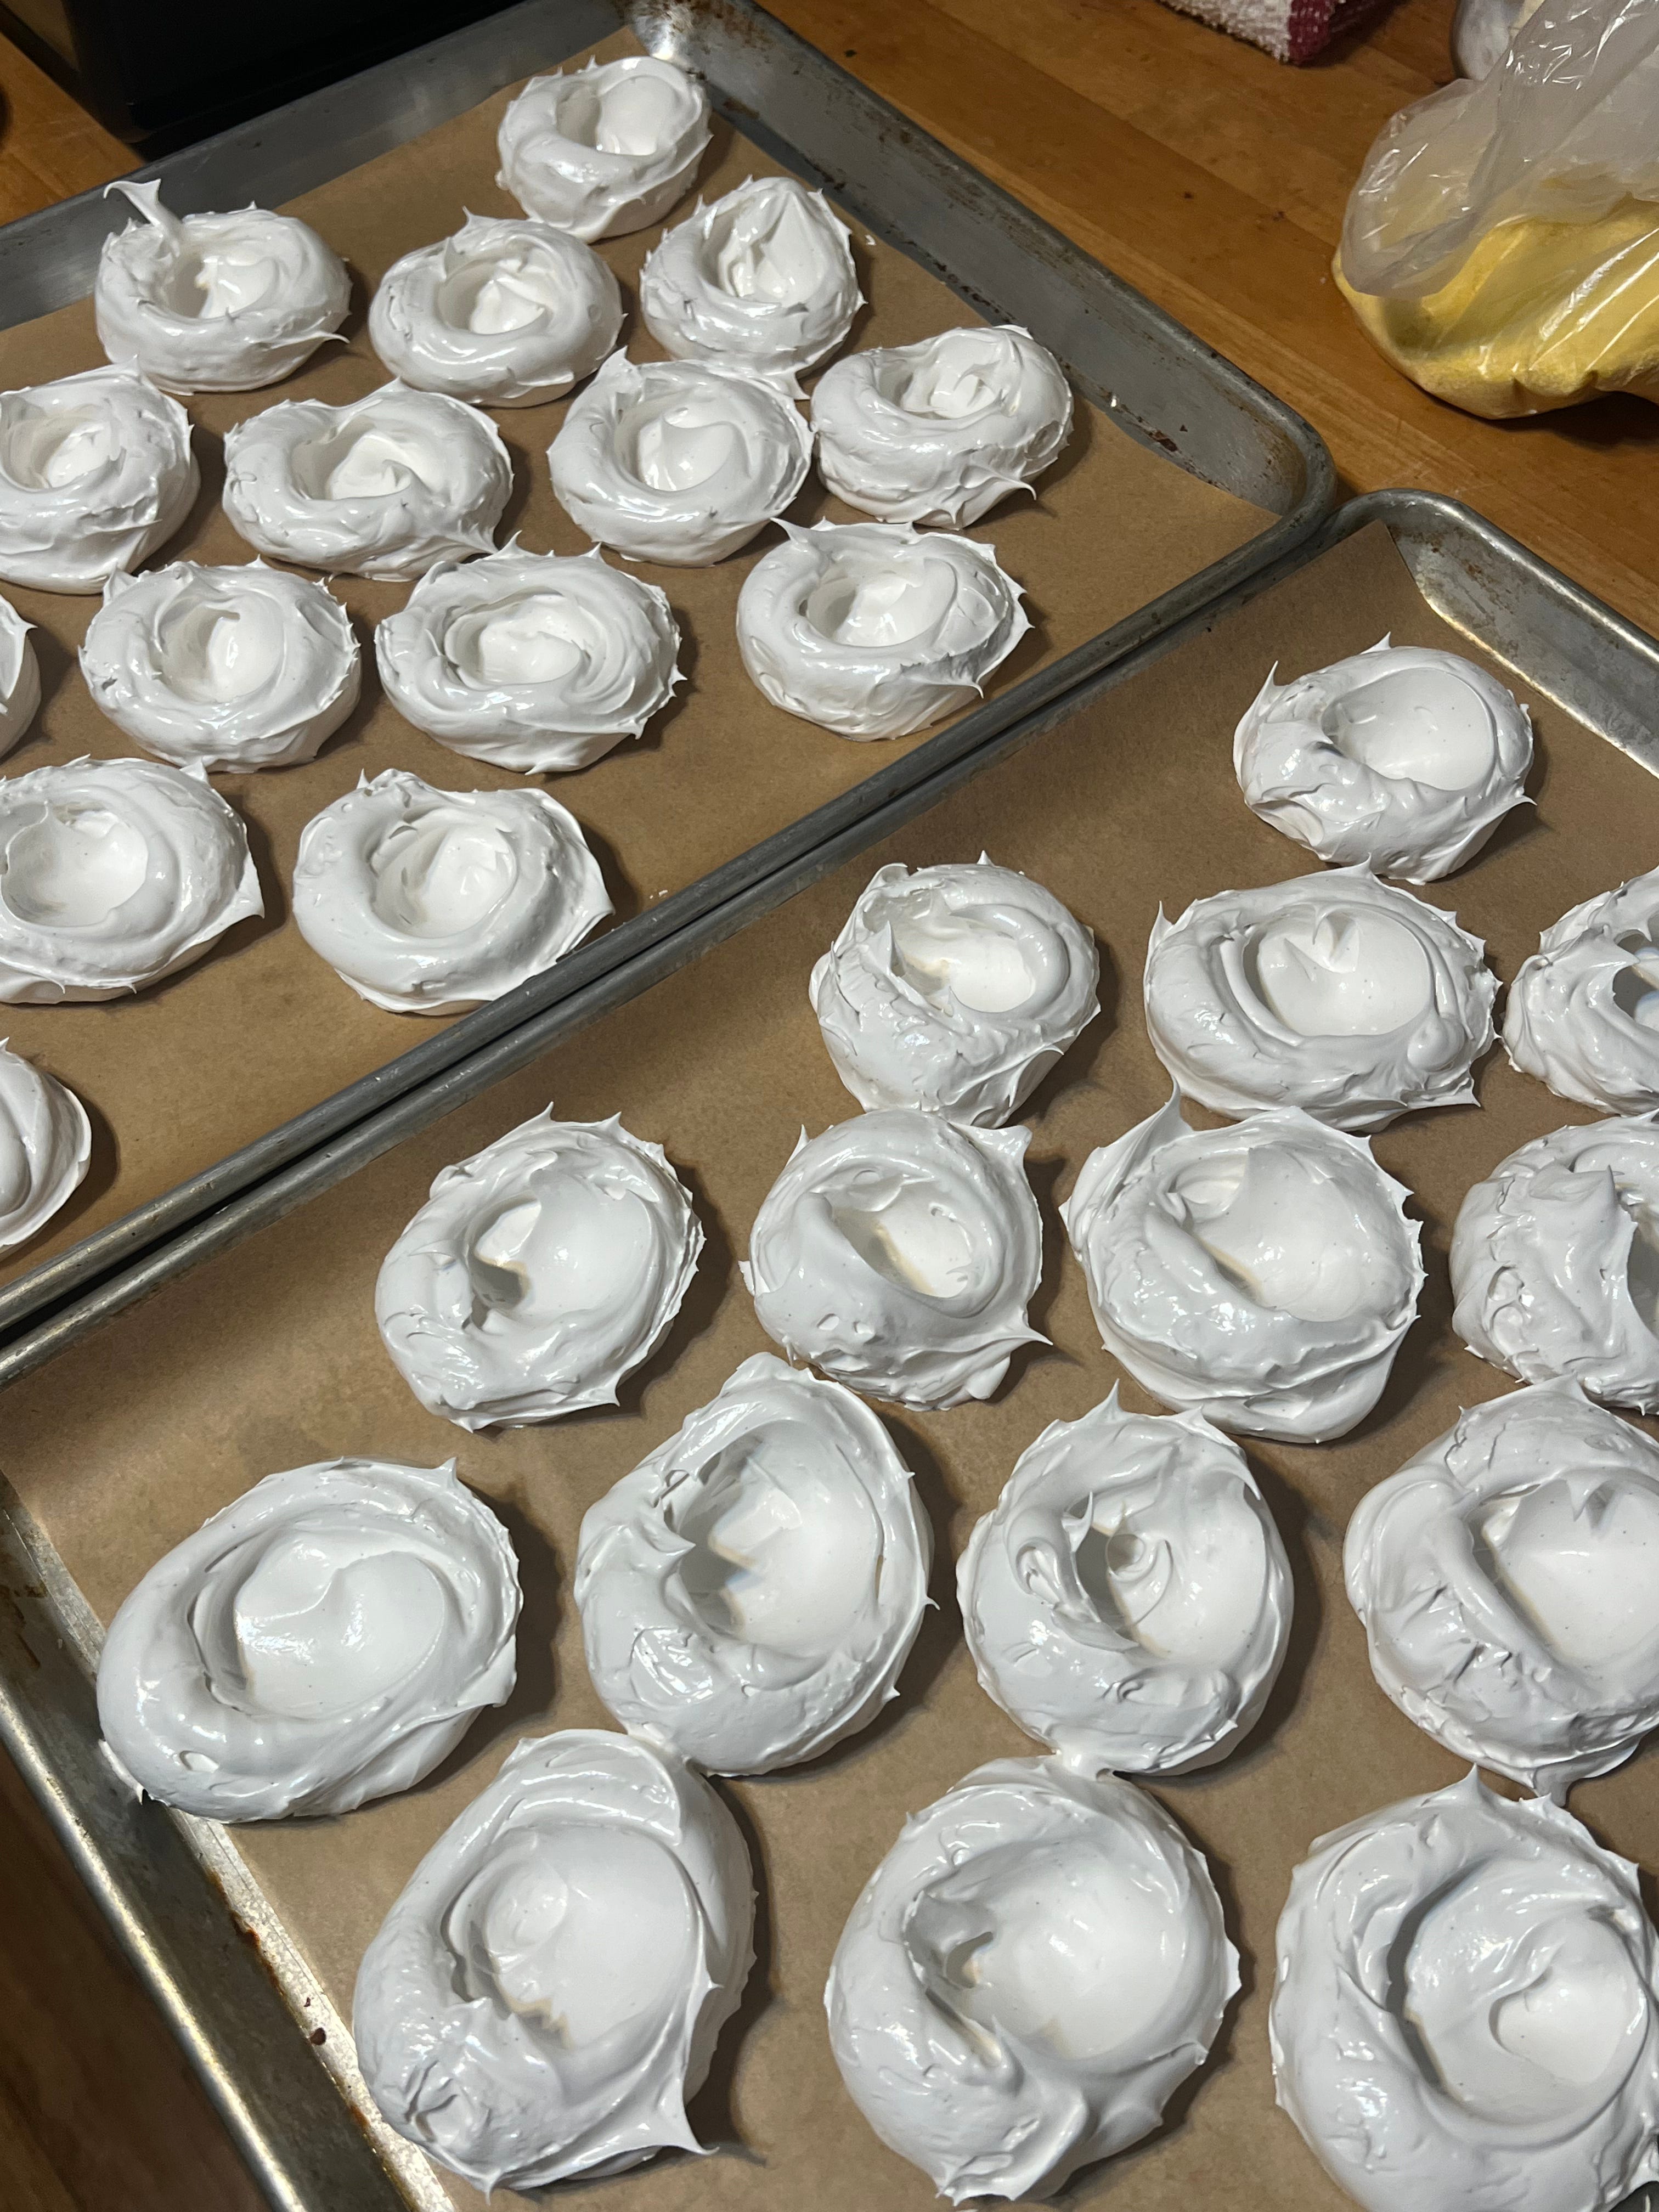
There’s actually nothing I love more than a free form dessert, which pavlova definitely is. You can shape her a million ways to Sunday, as something tall and billowy, to short rounds that you can stack and layer with filling later. You can pipe the meringue into a shape,- like heart with a st. honore tip. Or, yeah as a bunch of meringue balls stacked high and held together with a prayer while they bake in the oven!
And I’m telling ya now, before you (and I) forget, the shape you make with your meringue will dictate how long it’s going to need to bake!


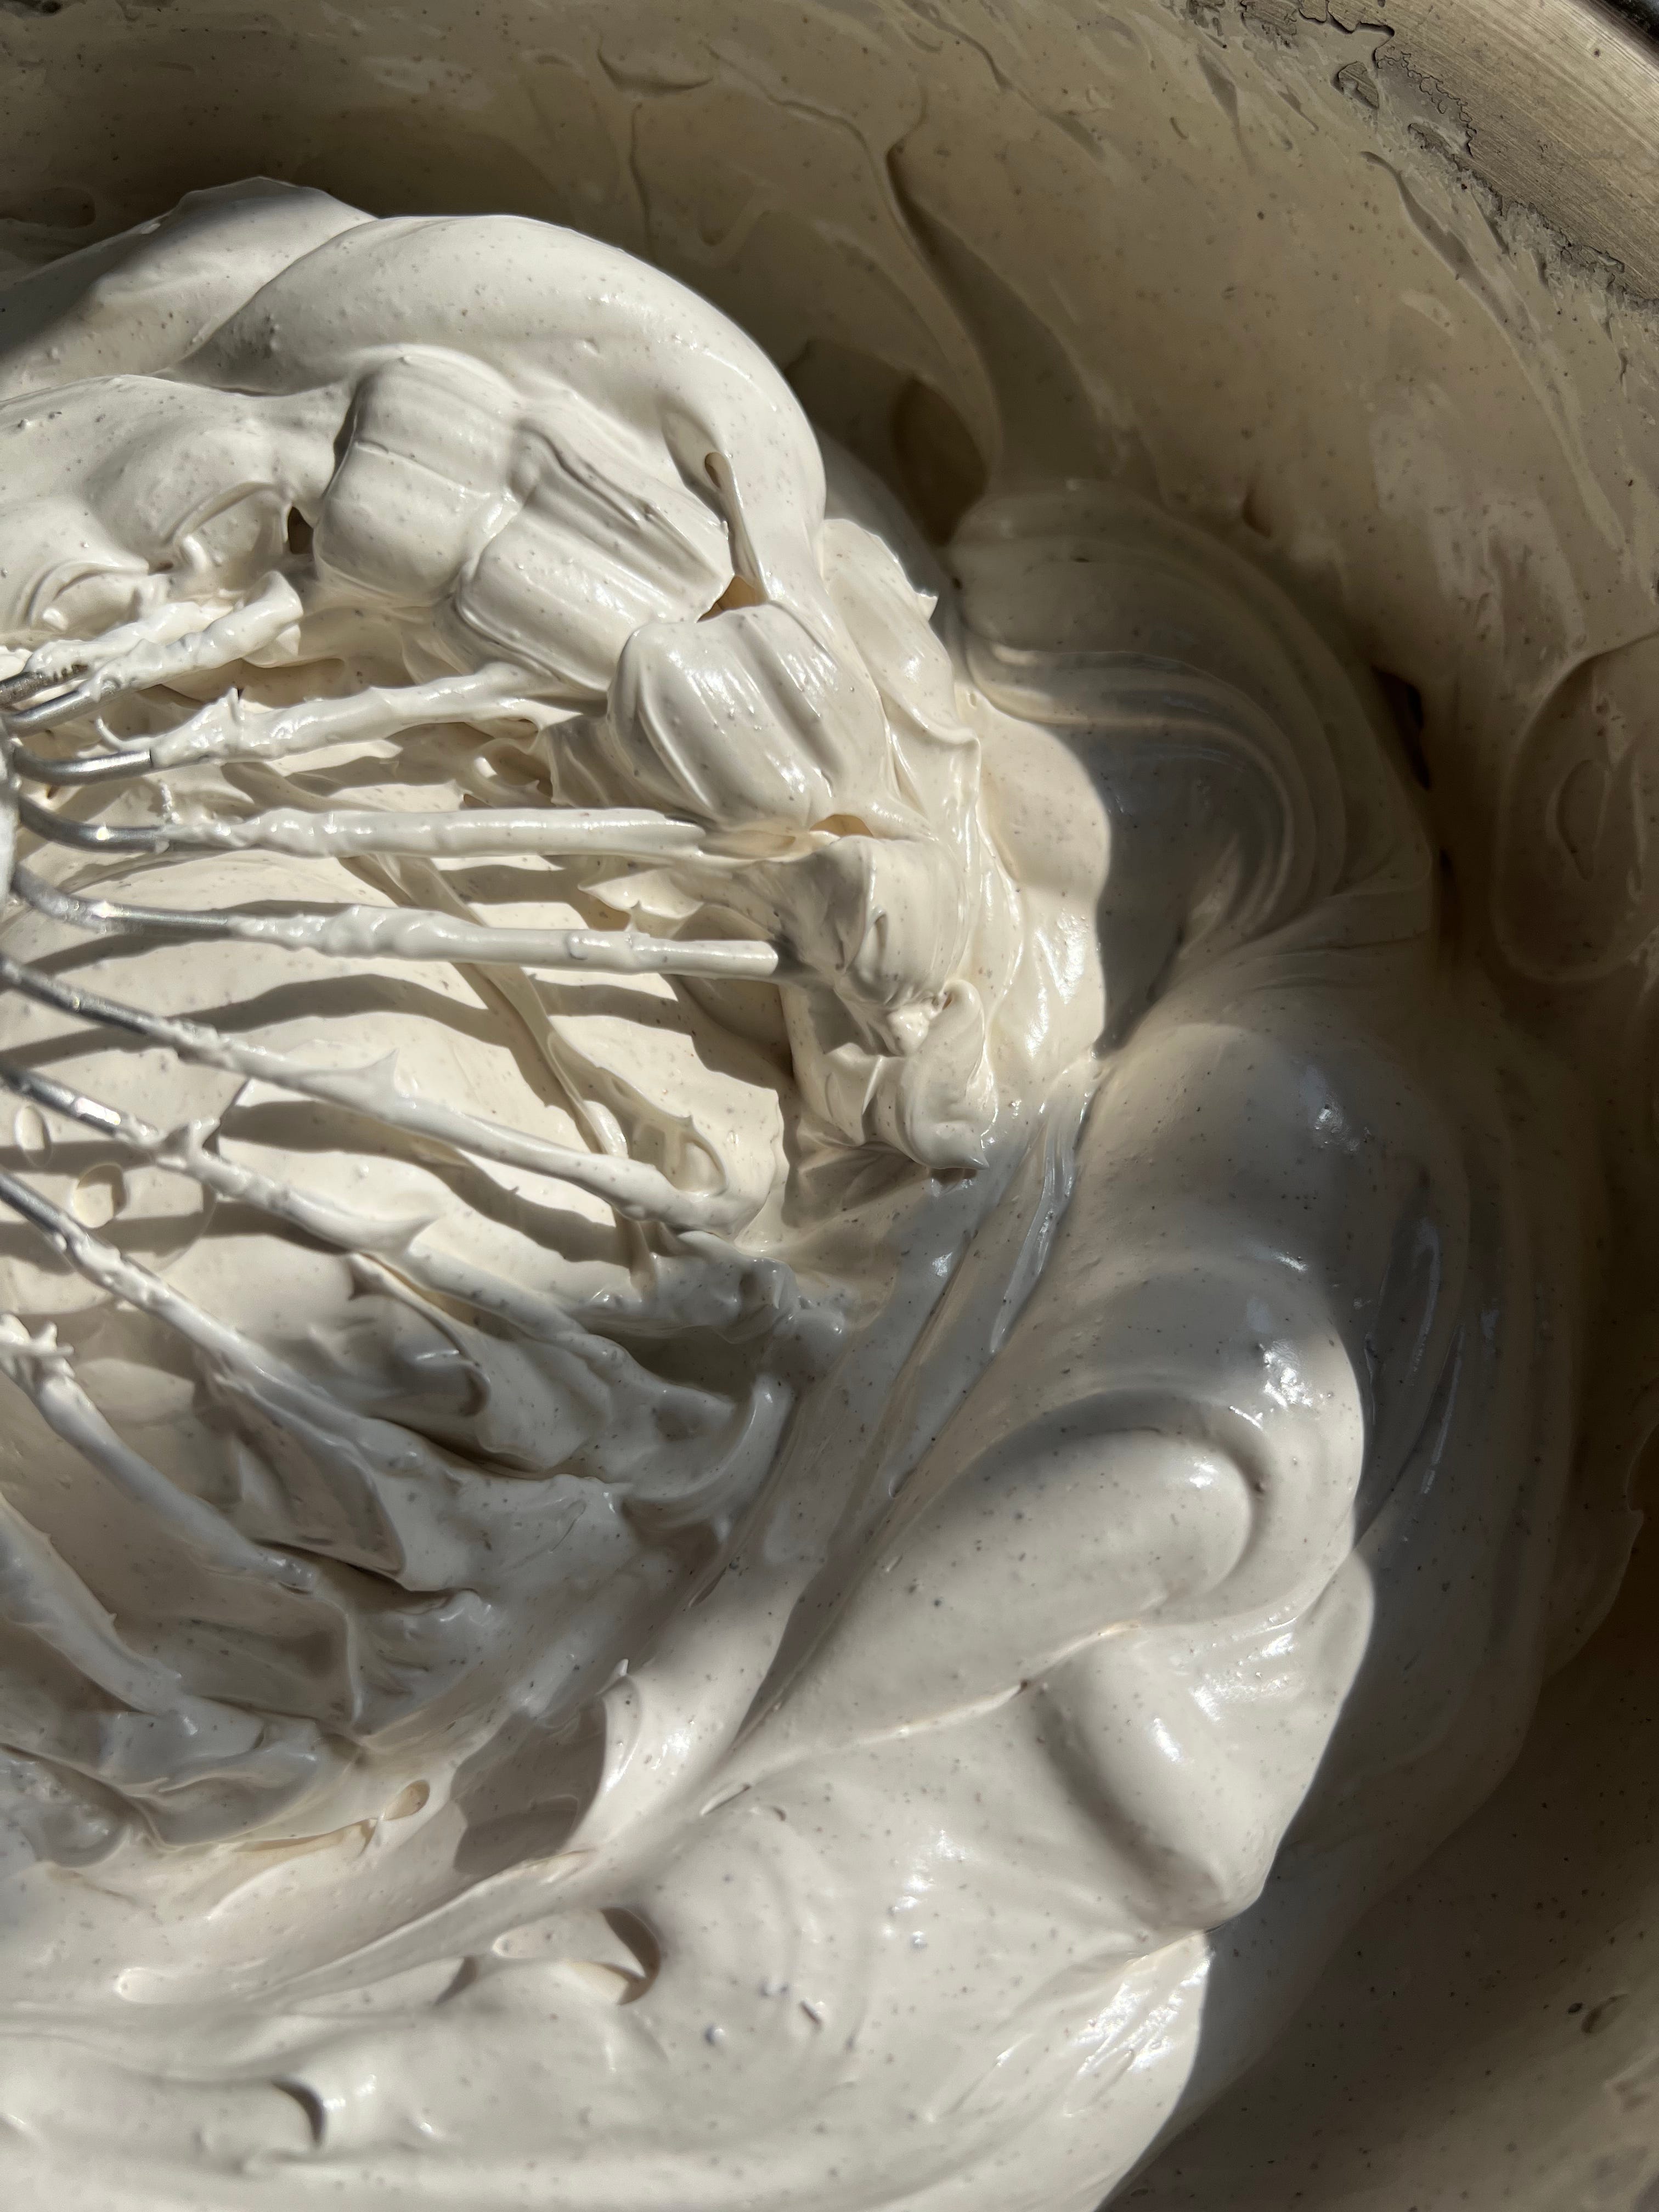
Now it’s time to look at the key players. The ingredients for the meringue base of pavlova are very simple you “technically” only need egg whites and sugar, oh and well tons of air, a little bit of acid never hurt!
Egg whites: As the whites whip with sugar the two ingredients work to create an airy glossy meringue. The proteins in the whites are working with the sugar to build a stable structure.
Sugar: As we’ve gotten down to previously- sugar is not just sweet! In the case of meringue its wholly responsible for the stability of your meringue. The less sugar, the less stable your meringue will be, which leads to a pavlova with an ultra thin shell, that’s far more delicate to handle. A meringue with a lower sugar content also takes longer to bake. The higher the ratio of sugar, the more stable your pav will be. Yes, on the sweeter side, but it’ll have a nice contrast between the crunch of the outer crust vs the v light and airy marshmallowy center.
Type of sugar also plays a role in your pavlova:
Superfine/caster sugar: The size of the sugar granules make it easier for the sugar to completely dissolve into your egg whites. This is like the IT girl when it comes to sugar for Pavlova. If you can get your hands on it- definitely use it!
Granulated sugar: This is the sugar that is widely available in the US. But, the granules are larger than that of superfine sugar- right, like they wouldn’t call the other stuff superfine for no reason. Because of that, you might experience a grit to your meringue, if you use a french style meringue. This happens because the sugar isn’t able to fully dissolve into the whites when whipping. You can create a super fine sugar by blitzing granulated sugar in a high speed blender for a few seconds!
Powdered sugar/10x: This sugar has been pulverized to a powder and usually contains a little cornstarch as an anti-caking agent. This gives a more marshmallowy interior to your pavlova. My personal preference, as you’ll see in the recipe below, is to use a mix of both granulated and powdered sugars! The granulated gives the meringue structure and since it’s at a lower ratio, the lowered amount of sugar has no issue fully dissolving into the whites. While the powdered sugar gives an extra mallow center.
The ratio of whites to sugar is variable, you can anywhere from a 1:1 egg white to sugar ratio, all the way up to a 1:2 white to sugar ratio. This will, of course affect the final product as well as the bake time. The lower the ratio of sugar, the longer the meringue takes to bake and the higher the ratio the less time it takes to bake. The amount of sugar also affects the stability of the meringue, so keep that in mind if you plan to play around with sugar for the sake of sweetness. Pavlovas made with less sugar are extremely delicate while those with more sugar develop a thicker crust and are easier to work with.
Acids: Acids like cream of tartar, lemon juice and vinegar can be added to your egg whites to increase the stability of the meringue. The addition of an acid makes the meringue less likely to lose water, which can prevent your pavlova from weeping, which is even it essentially leeches out a bit of a sugary syrup.
Cornstarch: The starch will absorb any free liquid left in the meringue. Which can help to combat the weeping. But, also aids in an extra marshmallowy texture on the inside.
French vs Swiss meringue:
Typically, pavlova is made with a french meringue. Which is a technique where the eggs whites are whipped till lightly frothy and the sugar(s) are added in slowly over time. Or, in the case of this recipe, right at the beginning. Which omg sacreligious? I thought!! I thought, you can’t do that? I though that impedes the ability for the egg whites to reach full whipping potential!!! I’ve made 1000s of meringues in my day, and I’ll be so real with you, never noticed a difference in the whipping ability dependent upon when I add the sugar to the whites. If you wanna stand by the mixer for 43 minutes adding sugar a 1/4 teaspoon at a time? Be my guest!!
A french meringue is no where near as stable as Swiss, which is a technique where the egg whites are cooked with the sugar over a pot of simmering water until it reached 165F. This, will a. make sure that your sugar is fully dissolved into the whites. And b. give the whites more structure when whipping. Which gives the final pav a bit of a thicker crunchy shell to it but, in my experience the pav is then prone to extra cracking (but, I don’t give two shits about cracks in a pavlova, I’m covering it all up with whipped cream and fruit anyways!!) So, I'll typically skip the Swiss route, because it’s like a whole extra step. BUT, it does ensure the whites reach a safe temp incase you’re baking for a sensitive group like the elderly or someone who is immunocompromised.


Shaping + Thickness:
You can have a lot of fun with how you decide to shape your meringue- but, this can impact the final result of your pavlova! Tall, thick meringue structures will have more of that mallowy center, while thinner shapes will leave you with a chewier bite to the pav. Which I love to do thinner rounds of pavlova and layer fillings between, stack them 3+ high- it reads much more like a cake or dacquoise, another meringue based dessert!
The second best thing about pavlova, aside from the massive amounts of free will you can use to shape them is that you can also use the same free will to fill them with what ever you want! Are whipped cream and berries the v traditional route? Yeth, and you know sometimes they get crazy and throw a little lemon curd in there. But, what’s stopping you from making a rose water mascarpone bavarian to fill that cavity with? What happens if you decided to fill it with chocolate mousse and serve it with crushed graham crackers? You know what happens? You have a s’mores inspired pavlova!! Infuse the cream with earl grey before you whip it and serve it with raspberry coulis!!
You can also take a page from my torched swiss buttercream recipe and TORCH THE MERINGUE before you bake it!! okay now pair THAT with the choc mousse and graham crumbs? S’mores glalores!! The meringue is the base, it’s up to you to have fun and be creative with it!!
Pavlova, the meringue base ♡
Tools:
or hand mixer, just expect to be stationary for a while
Rubber spatula
Fine mesh sieve
Ingredients:
150 grams egg whites, about 5 large whites, room temp
1/4 teaspoon cream of tartar
130 grams granulated sugar
170 grams powdered sugar, sifted
1 tablespoon + 1 teaspoon cornstarch
1/4 teaspoon diamond crystal kosher salt
*optional* 1 tablespoon vanilla bean paste- or really any alcohol/water based flavoring of your choice :)
Directions:
Preheat the oven the 225F, no fan.
To the bowl of a stand mixer add the 150 grams egg whites, 1/4 teaspoon cream of tartar, and 130 grams granulated sugar. Whip on medium speed until light and doubled in volume.
Sift together the 170 grams powdered sugar, 1 tablespoon + 1 teaspoon cornstarch and 1/4 teaspoon kosher salt.
Drop the mixer to low and slowly add in the powdered sugar mixture.
Add in the optional vanilla, or flavoring agent of choice at this point as well if you’re choosing to use one!
Turn the mixer back up to high and allow to whip until stiff peaks have formed.
Use a little bit of the meringue in the corners of the baking sheet to help affix the parchment sheet and keep it from sliding around while you shape our pavlova!
Shape the meringue how ever you’d like!
Bake a tall and thick pavlova for 60-70 minutes. Bake a thinner pavlova or smaller individual pavlovas for 35-45 minutes. You’ll know they’re done when the outer shell of the pavlova is dry and crisp to the touch.
Turn off the oven with the pavlova still inside, allow it to cool down with the oven for a minimum of 1 hour but preferably 3-4 hours.
Once cooled, you can store the pavlova in an airtight container, up to 2 days, until you’re ready to dress it up with fillings. Or wrap the sheet pan well with plastic wrap and throw a dessicant in to keep things dry!
Fill and decorate as close to serving as you can to help the outer shell stay nice n crisp!


And in this economy, with the price of eggs skyrocketing (I know, I’m sorry, I literally had pavlova on the docket for Feb for a while, of course kinda poor timing now!!) we shant let those egg yolks go to waste! Here’s the scaled down version of my vanilla pastry cream recipe to perfectly use up 5 yolks! You can use the pastry cream to fill the pav, if that floats your boat. Infuse it with herbs, spices, teas etc. Fold it into whipped cream to make a bavarian cream ♡
Ingredients:
190 grams whole milk
175 grams heavy cream
1/2 a vanilla bean, scraped
1/4 teaspoon diamond crystal kosher salt
100 grams egg yolks, approx 5 large yolks
70 grams granulated sugar
20 grams cornstarch
55 grams butter, cold & cubed
Directions:
Place your 190 grams whole milk, 175 grams heavy cream, scraped vanilla pod and 1/4 teaspoon kosher salt into a small saucepan over medium heat.
While that heats up, whisk together your 20 grams cornstarch and 70 grams granulated sugar to eliminate any lumps. Add your 100 grams egg yolks and whisk together until a homogenous paste forms. You’'ll really want to aerate this for about a minute or two- not fully necessary it’ll help the milk mixture to temper in easier in the next step!
Once your milk mixture is at a simmer, temper into the yolk mixture. To temper: ladle in a small amount of the hot milk into the yolks, whisking to combine. Add another ladle full and repeat. Do this about 3/4 times before adding the tempered yolk mixture back into the saucepan. You do this to slowly bring the egg yolks up to temp and avoid shocking/scrambling them. If the egg yolks scramble it will leave you with a grainy texture and eggy taste.
Once tempered add the egg yolk mixture back into the saucepan.
Whisk constantly to avoid scrambling. Continue to whisk until your cream begins to thicken and reaches a soft boil (a few slow popping and thick bubbles will form.)
At this point remove your cream from the heat and strain into your desired container. This is the final frontier to make sure you don’t have any scrambled eggy bits in your cream. Add your 55 grams of butter and immersion blend until smooth. If you don’t have an immersion blender you can use a regular blender or just whisk to combine. The immersion blender though leaves you with the most perfect creamy texture.
Cover directly with plastic wrap. Label and date the container!
Use it how ever you’d like ♡
* If you find your PC has set too firm in the fridge, put it in the blender with the paddle to loosen it up a bit. or do it by hand with a spatula *
I cannot wait to see what you guys bake up this month!! As always, tap into the group chat for any Q’s you may have, troubleshooting or idea fleshing out you may need!
TTYL!!

Love this recipe Kassie! I just tried it and added 2 T freeze dried raspberry powder. Turned out great!