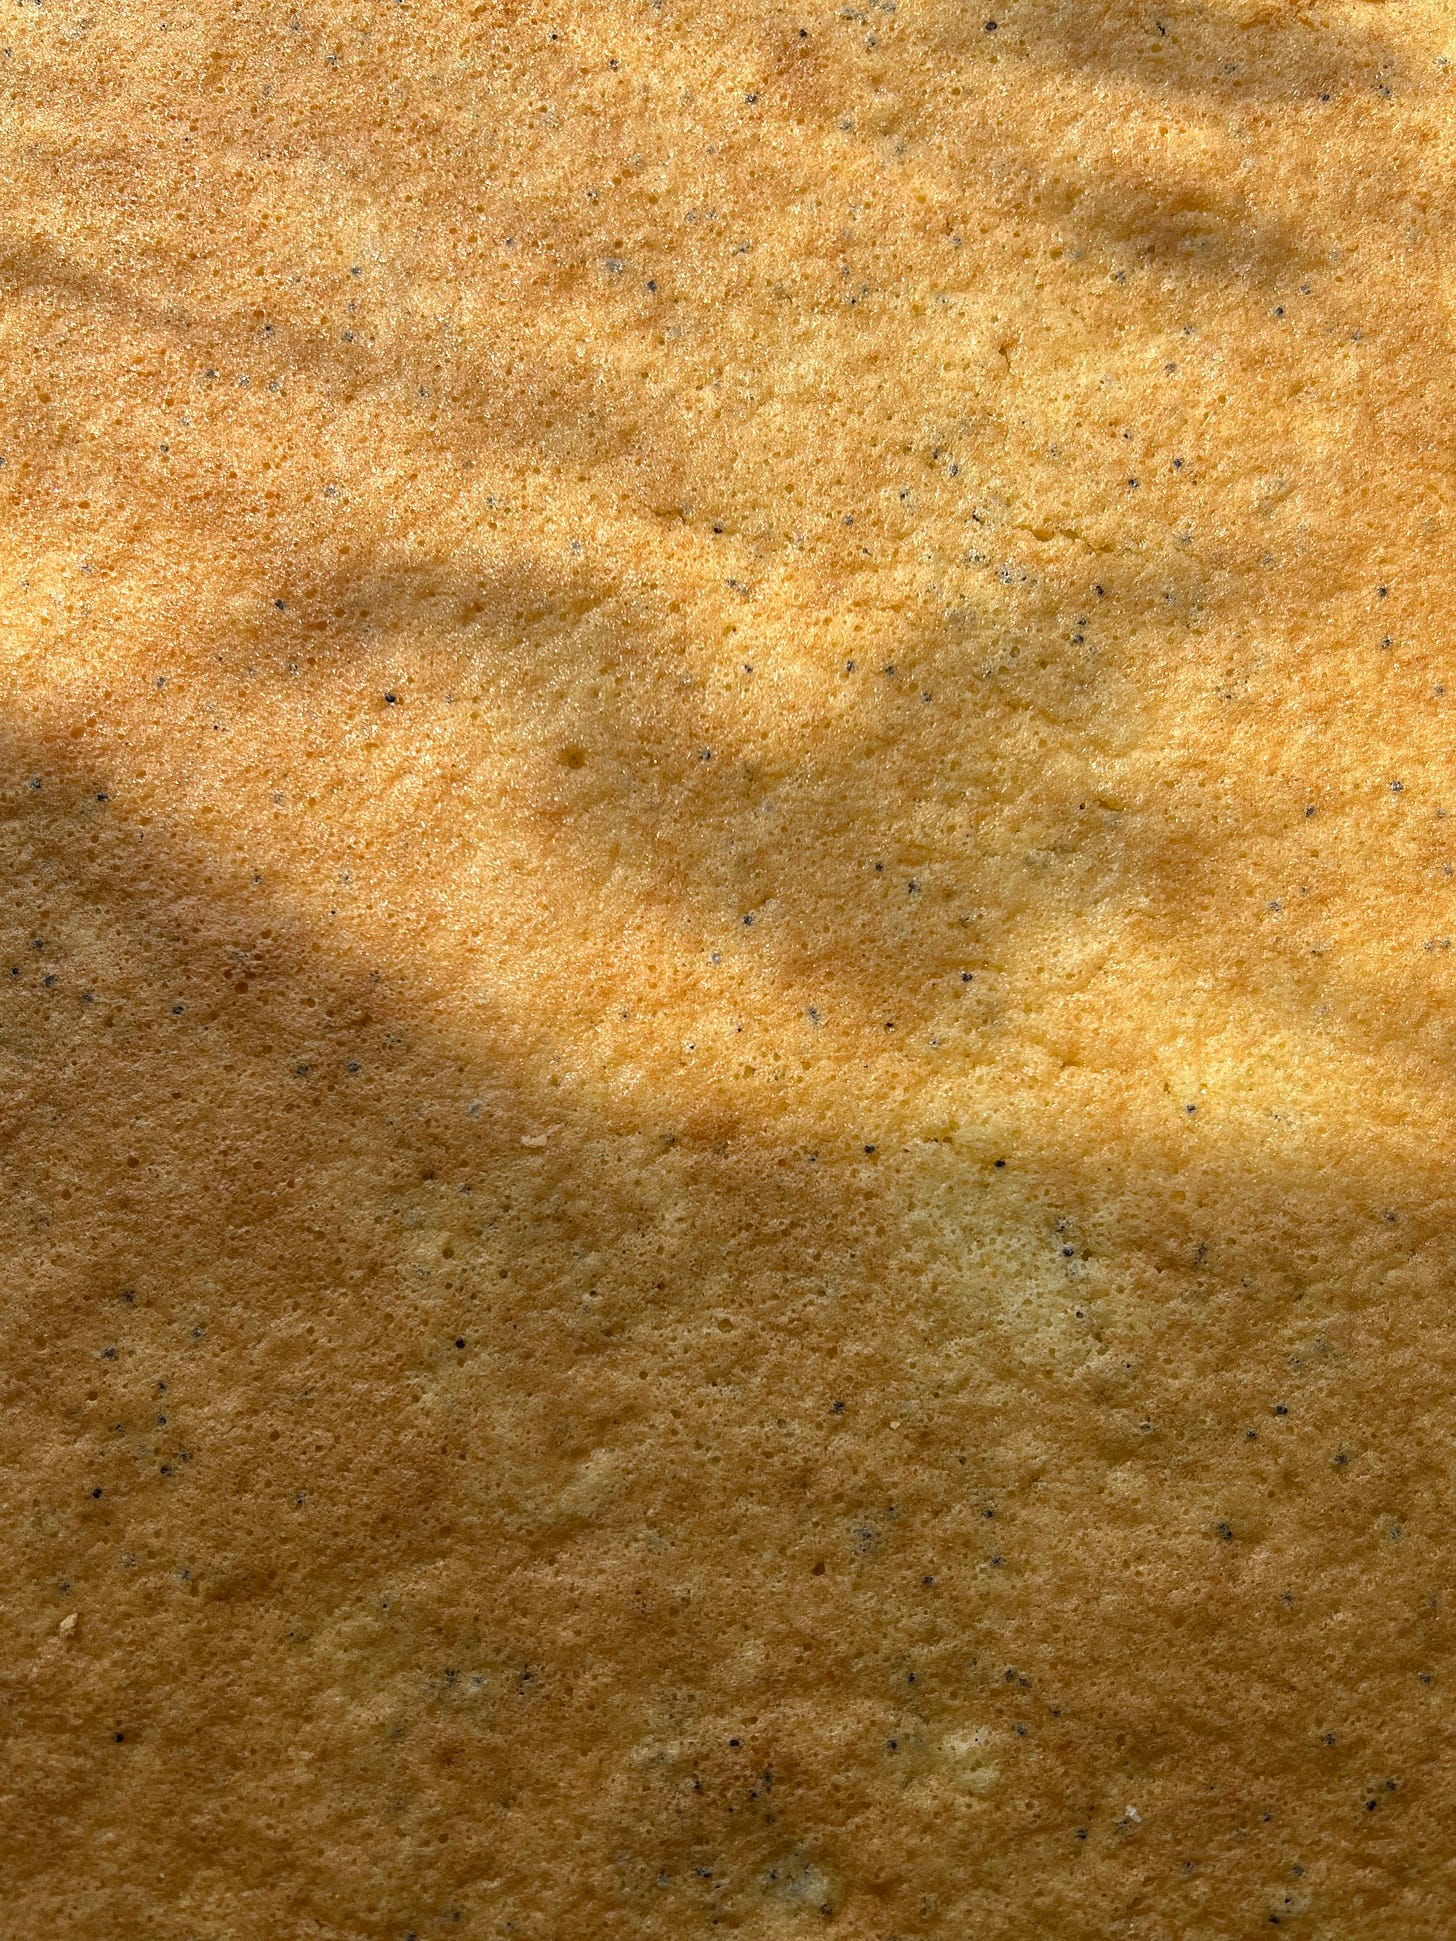
olive oil chiffon cake
she is the blue print and pairs so well with literally any flavor filling you could think of
This post contains affiliate links.
In terms of cake- I don’t think theres anything more perfect than olive oil chiffon. It’s light, airy and flavorful; what more could you ask for?? The flavor of olive oil pairs amazingly with so many other flavors it’s insane. Olive oil and chocolate? Yeah, duh that’s a classic. Olive oil with literally any summer fruit?? SIGN ME UP. Olive oil and cracked black pepper in a cake??? Get ready for your third eye to open.
This cake is definitely one of those situations where you’ll want to use the good shit. Yeah, yeah theres those $95 bottles of piquant olive oil hand squeezed by greek goddesses or whatever- but you don’t need to break the bank for great olive oil. I use Graza across the board- for cake and buttercream. For this cake in particular I use their Drizzle oil! The flavor is amazing and it’s affordable.
But let’s imagine a world where maybe you’re not the olive oil’s #1 fan, you can swap out the olive oil for a neutral flavored oil like grape seed or canola. You could also sub out half the amount of the olive oil for another oil to have a more subtle olive oil flavor.
This recipe is enough to make 3- 6” cake layers OR enough to make a single quarter sheet cake layer.
Ingredients:
70 grams dark brown sugar
1/4 teaspoon salt
50 grams olive oil
50 grams egg yolks
60 grams whole milk
zest of one lemon (optional)
5 grams vanilla extract
5 grams baking powder
110 grams cake flour
100 grams egg whites
60 grams granulated
a sprinkle of poppyseeds (also optional & up to you and your preferences on how much to add to the batter)

Directions:
Begin by preheating your oven to 335°F.
In a bowl whisk together the dark brown sugar, milk, olive oil, egg yolks, salt and vanilla until combined. Sift in your cake flour and baking powder. Whisk this all together until a loose batter forms and no dry streaks of flour remain. Set aside.
In the bowl of a stand mixer fitted with the whisk attachment begin to whip your whites on medium speed. Once the whites begin to froth add in 1/3 of the granulated. Whip until tighter more uniform bubbles for in the egg whites before adding the second 1/3 of the sugar. Whip for about 1 more minute before adding in the rest of the sugar. All the additions of sugar should be done carefully while the mixer is running, slowly sprinkling each addition in to the bowl.
Whip this one medium until medium peaks form. The meringue will be stiff enough to hold some shape but the top will fall over on its side. If you’re unsure about the stages of whipping egg white to, this video is a helpful guide. Do not over whip your egg whites- this can lead to issues with folding them in to your batter as well as result in a dry cake.
Add 1/3 of your meringue into your batter from earlier. Using a spatula gently fold the meringue in. add the next 1/3 of meringue folding it in until incorporated. Add the final amount of meringue, folding in just until evenly combined. You don’t want to over work they egg whites as this will knock out all of the airy you adding by whipping resulting in a dense and almost rubbery cake.
Weigh the batter into 3 6” cake rounds, 165 grams of batter per pan. Or add all the batter to a 1/4 sheet pan fitted with a sheet pan extender and lined with parchment paper. Do not use non-stick pans for this! And do NOT use any oil sprays or fats to grease your pans. You want the batter to be able to cling to and essentially climb the sides of the pans.
Bake the cake layers for 25-30 minutes until evenly golden brown on top and the cake bounces back when gently tapped in the center.
Remove the cakes from the oven and drop them onto the counter from about 6 inches high before inverting on to a cooling rack to cool UPSIDE DOWN. This is another reason why would don’t want to grease your pans, the cakes will fall out otherwise. Dropping the cake against the counter helps to shock and set the structure of the cake.
*You do not need to invert if you made the recipe as a sheet cake layer *Once cooled remove from the pans. Run a knife or off set spatula around the edge of the pan to release the cake. Give the pan a nice firm whack on the the counter and the cake should release. (This video is here to help). Individually wrap each layer and chill them in the fridge or freezer until you’re ready to build your cake. Do not stack them on top of each other if you can avoid it.
Enjoy!!


Hi kassie i tried the chiffon and it came out great the only thing is that it was a bit too sweet for how my family normally likes things, how much could I reduce the sugar without messing anything up?
Is it possible to use all purpose flour instead of cake flour?