
philly style ice cream base
sans yolks, but sometimes with xanthum gum

hey hi hello!!
Welcome back to bake chats xx
I shared my custard style base ice cream recipe a few months back, and y’all have been loving it. Since then I’ve riffed and reworked it into a few different flavor options. But, I’ve been working on a Cherry Garcia duuuupe with a noyaux infused base (it’s so good and coming so so soon) But, in working on that I was finding the noyaux flavor not coming across as strong as I would have liked. That custard base recipe is a pretty high fat environment, and while fat does carry flavor there are instances where it can also mute flavor, especially delicate ones.
Something I learned in reading and researching for my custard style base is that when more fat is present the longer it takes for the infused flavor to present itself. So, ice creams high in fat will result in a slow creeping flavor that builds overtime with each bite you take. By removing the yolks, you remove a touch of fat, and your flavors do not compete with the slighlty eggy flavor the yolks bring to the ice cream. The lower fat content means that you get a more immediate flavor impact. This base is best for delicate flavors, things like herbs, teas and any ingredient with more nuanced flavor.
To convert my custard style ice cream base to a yolkless philly version, I looked to the holy grail of ice cream “Hello, My Name is Ice Cream” by Dana Cree. I compared the custard style to the Philadelphia style ice cream in the book the check changes and ingredient percentages to guide the moves I had to make to convert my base. The 100 grams of yolks in the custard base become 80 additional grams of heavy cream and 20 grams of milk powder in the philly version. I take the same approach and the heavy cream and milk in my base by 40 grams each while also adding 20 grams of milk powder. The milk powder helps to absorb some of the free water in the base acting as a stabilizer.
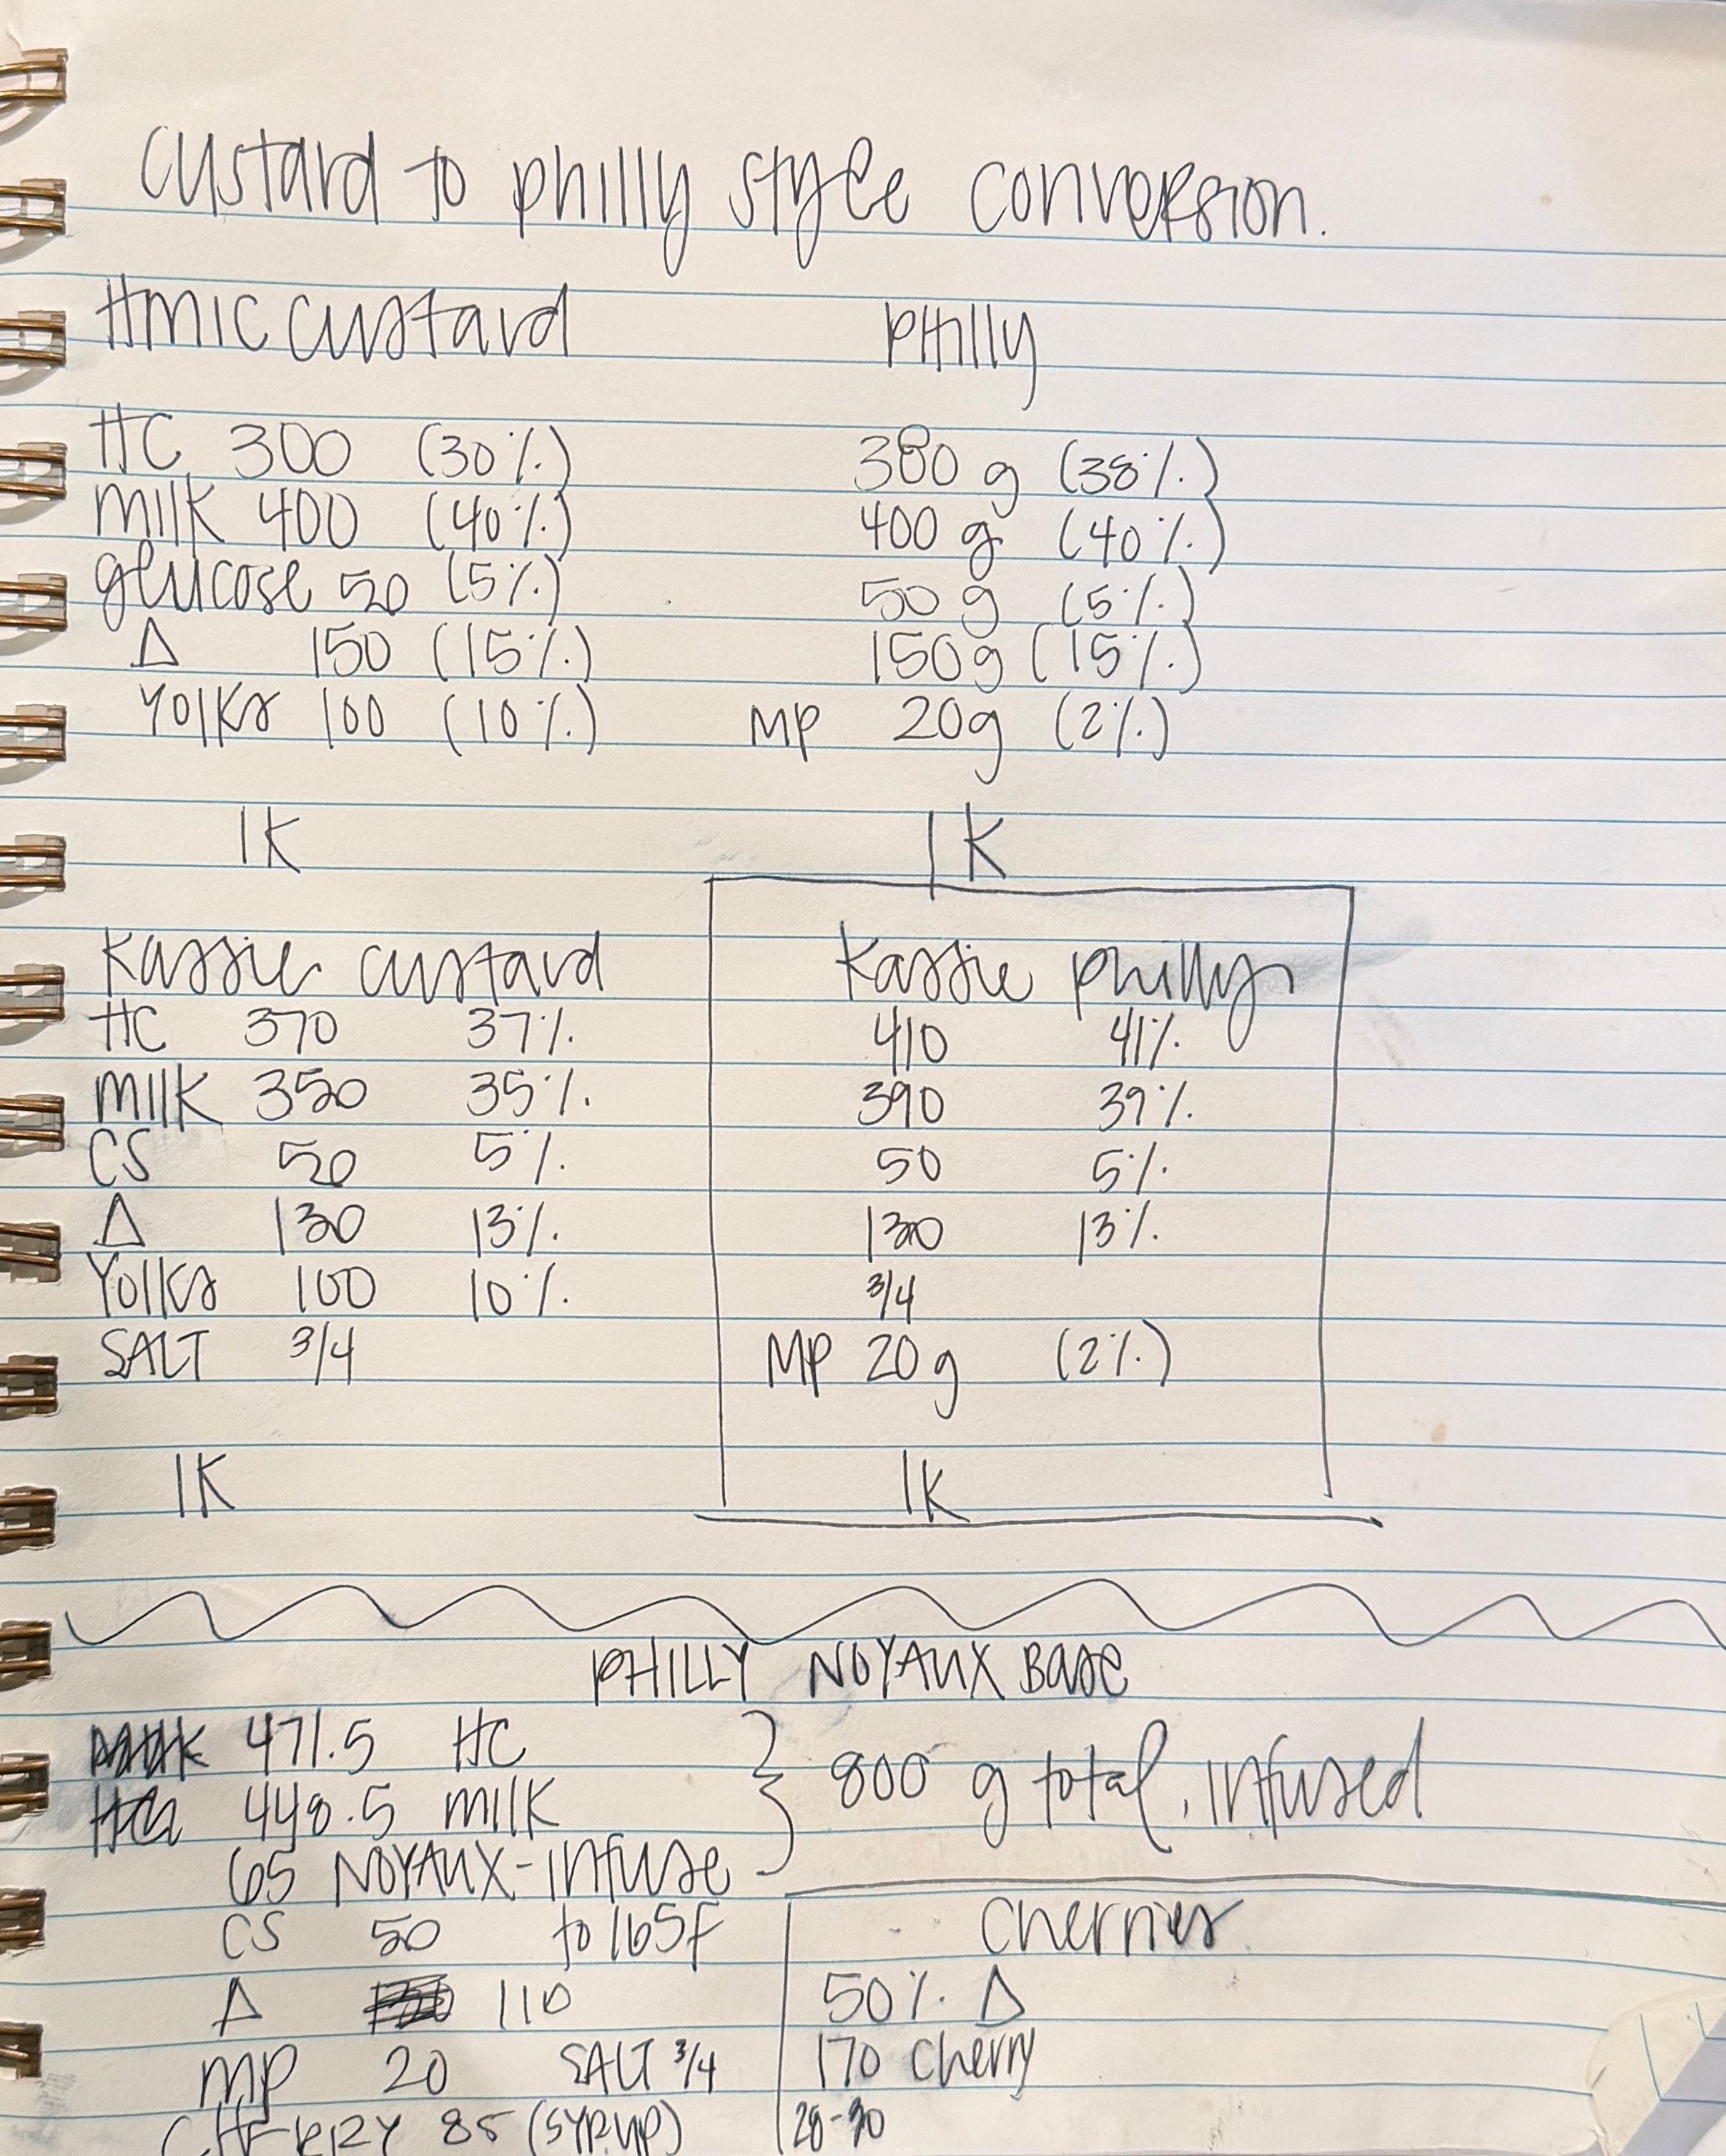
I keep the step of simmering the base for 5 minutes to drive off a little of the water in the dairy to improve texture and reduce the perception of icyness.
Now, my orig base was developed without using any gums, like xanthan, guar, or locust bean. Not because I’m anti-gum, they make for ice cream with a really nice texture. I just didn’t want to have y’all get an ingredient that otherwise might take up nothing but space in the pantry if you’re not making ice cream often (or dabbling in tons of GF baking). This recipe as is has great texture, because we simmer off a decent amount of water, but the texture is only made better with the addition of a touch of xanthan gum. Xanthan gum traps/absorbs water preventing large ice crystals from forming during freezing. Thus creating a product with a smoother texture and a richer, creamier mouth feel. A little bit goes a very long way, you’ll only need 1/8 teaspoon for this batch size of ice cream (which is as you can see is why I didnt want to have you buy a whole ass package to only need 1/8 teaspoon.)
PHILADELPHIA STYLE ICE CREAM BASE
*as per usual a printable, easier to view PDF version of the recipe will be available at the end of the post for paid subscribers*
TOOLS
Mixing bowls
Whisk
Rubber spatula
Medium saucepan
Instant read thermometer
INGREDIENTS
410 grams heavy cream
390 grams whole milk
*optional* 2 vanilla bean pods, split and scraped
50 grams light corn syrup
130 grams granulated sugar
20 grams non-fat milk powder
1/2 teaspoon diamond crystal kosher salt
*optional* 1/8 teaspoon xanthan gum
DIRECTIONS
Combine the 410 grams heavy cream, 390 grams whole milk, 2 split and scraped vanilla bean pods, and 50 grams light corn syrup in a medium saucepan.
Place the filled saucepan over medium heat and bring the dairy to just before a simmer, the milk should be steaming.
In a small bowl combine the 130 grams granulated sugar, 20 grams of non-fat milk powder and 1/2 teaspoon kosher salt. This is gonna help to minimize the milk powder from forming clumps in the milk.
Whisk the sugar mixture into the warmed milk. Bring the mixture up to a rapid simmer and let it simmer for 5 minutes (set a timer). While it simmers you’ll want to make sure you’re whisking frequently to avoid scorching the milk solids.
While the base simmers away, set up an ice bath Fill a large mixing bowl with about 4 cups of ice and 1/2 cup of cold water. Nestle a smaller, shallow metal or glass bowl into the ice water. Place a fine mesh sieve over the bowl and set aside.
When the 5 minutes of simmering is up, remove the saucepan from the heat and bowl the base through the fine mesh sieve into the bowl sitting in the ice bath. Stirring the base every so often until it reaches 50F or below.
At this point if you choose to add the xanthan gum, you’ll immersion blend the gum into the chilled base for about 30 seconds until it’s evenly dispersed.
Transfer the base to a storage container, covering the top of the base directly with plastic wrap.
Chill in the fridge overnight, allowing your ice cream base to cure.
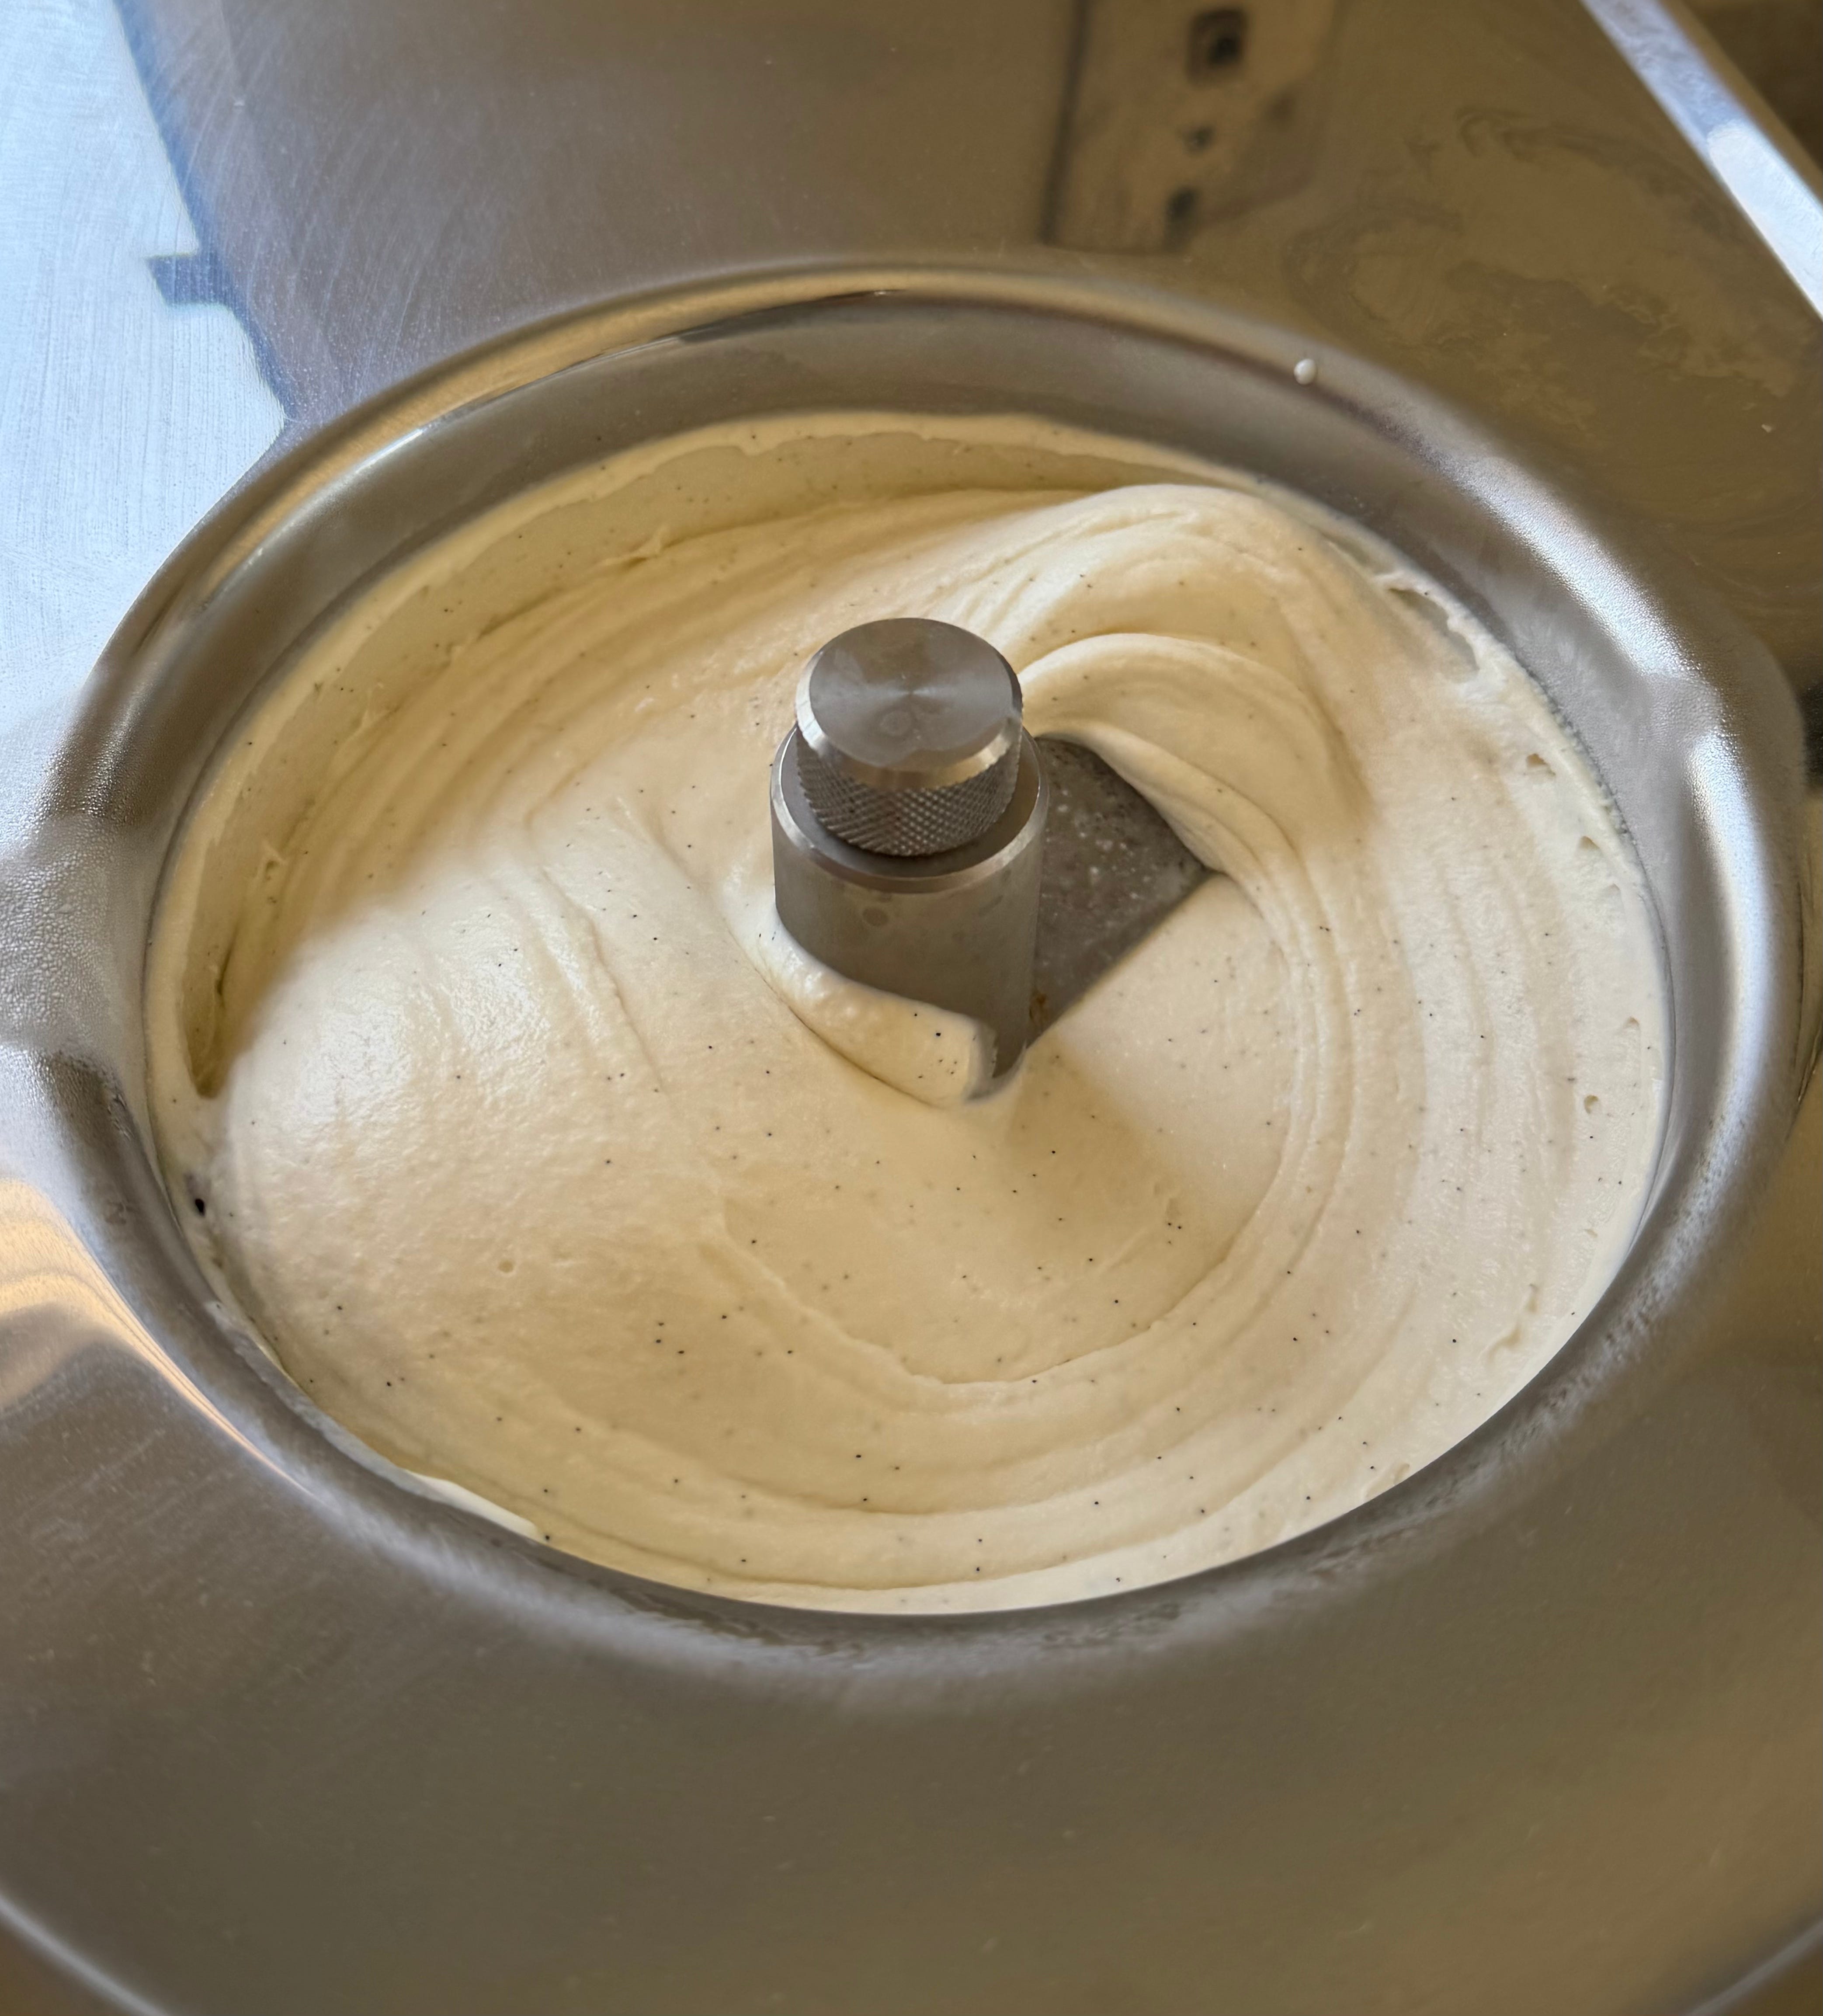
The next day pour the base into your ice cream machine and churn to the manufacturer’s instructions. Depending on the machine this could take 15-30 minutes. You want the base to reach a texture similar to soft serve ice cream and should have a temp of 25F (this can be hard to reach in drum style machines).
Transfer the ice cream to a freezer safe airtight container. Nothing too thick otherwise this can get in the way of the ice creams ability to freeze down, which can ultimately affect its final texture. I usually just throw it into a deli.
Label + date your container always.
Freeze for a minimum of 3-4 hours before scooping and serving. Of course you can sneak a few spoonfuls of the fresh churned ice cream too.
Consume within 2-3 weeks for the best texture. When you go in for a scoop, let the ice cream temper for 5-10 minutes for easier scooping. It’s still pretty high fat and will freeze down quite hard.
ENJOY!!
