It’s been almost 2 months since I announced I’ll be stepping away from celebration cake making and leaning more into recipe development. I spent so much of September working with some really cool brands on some recipes and I finally get to share one!! (It’ll be at the bottom, I must do my due diligence as a food writer and share all the annoying background stories of my life first, sorry. But, like… scroll to the bottom if that bothers you…)
I want to very quickly touch on recipes that end up behind the paid subscriber paywall vs the ones that are free for all. The things that end up behind a paywall are recipes that I either current use as a part of my cake business that pay my bills, or recipes that took multiple rounds of testing to get just right. Like, the red masa harina cookies took 12 batches before they were deemed fit to share. This way I can forgo running ads on the site and bombarding you with coupons for 10% off a 200 pack of diapers or free camper van rentals- you know the irrelevant ADs that pop-up in the side bars of most recipe blogs.
Then there are the free to all recipes- and there are plenty of them for you. These are recipes that I don’t think really add to the food conversation and aren’t worth paying for. For example, vanilla cake or chocolate chip cookie, there are respectively thousands of these recipes it seems silly to make you pay for the basics. But, the other main way for me to provide recipes to you for free is through branded collaborations. Because someone else is footing the bill of developing the recipe. I want you to know that- I only work with brands + products that I love and actually use/enjoy. My focus has always been on baking things I actually want to eat. I mean that is half the recipe testing process- eating & revising, over and over. I have no interest in constantly eating foods that aren’t bringing me joy!!
September in review, my favorites:
Food & Drink (just so happens to be 90% of the list ok) :
Passion fruit everything, but especially the passion fruit ice cream recipe from the Van Leeuwen book. Tart, creamy and perfect with a drizzle of Brightland’s Lucid lemon infused olive oil
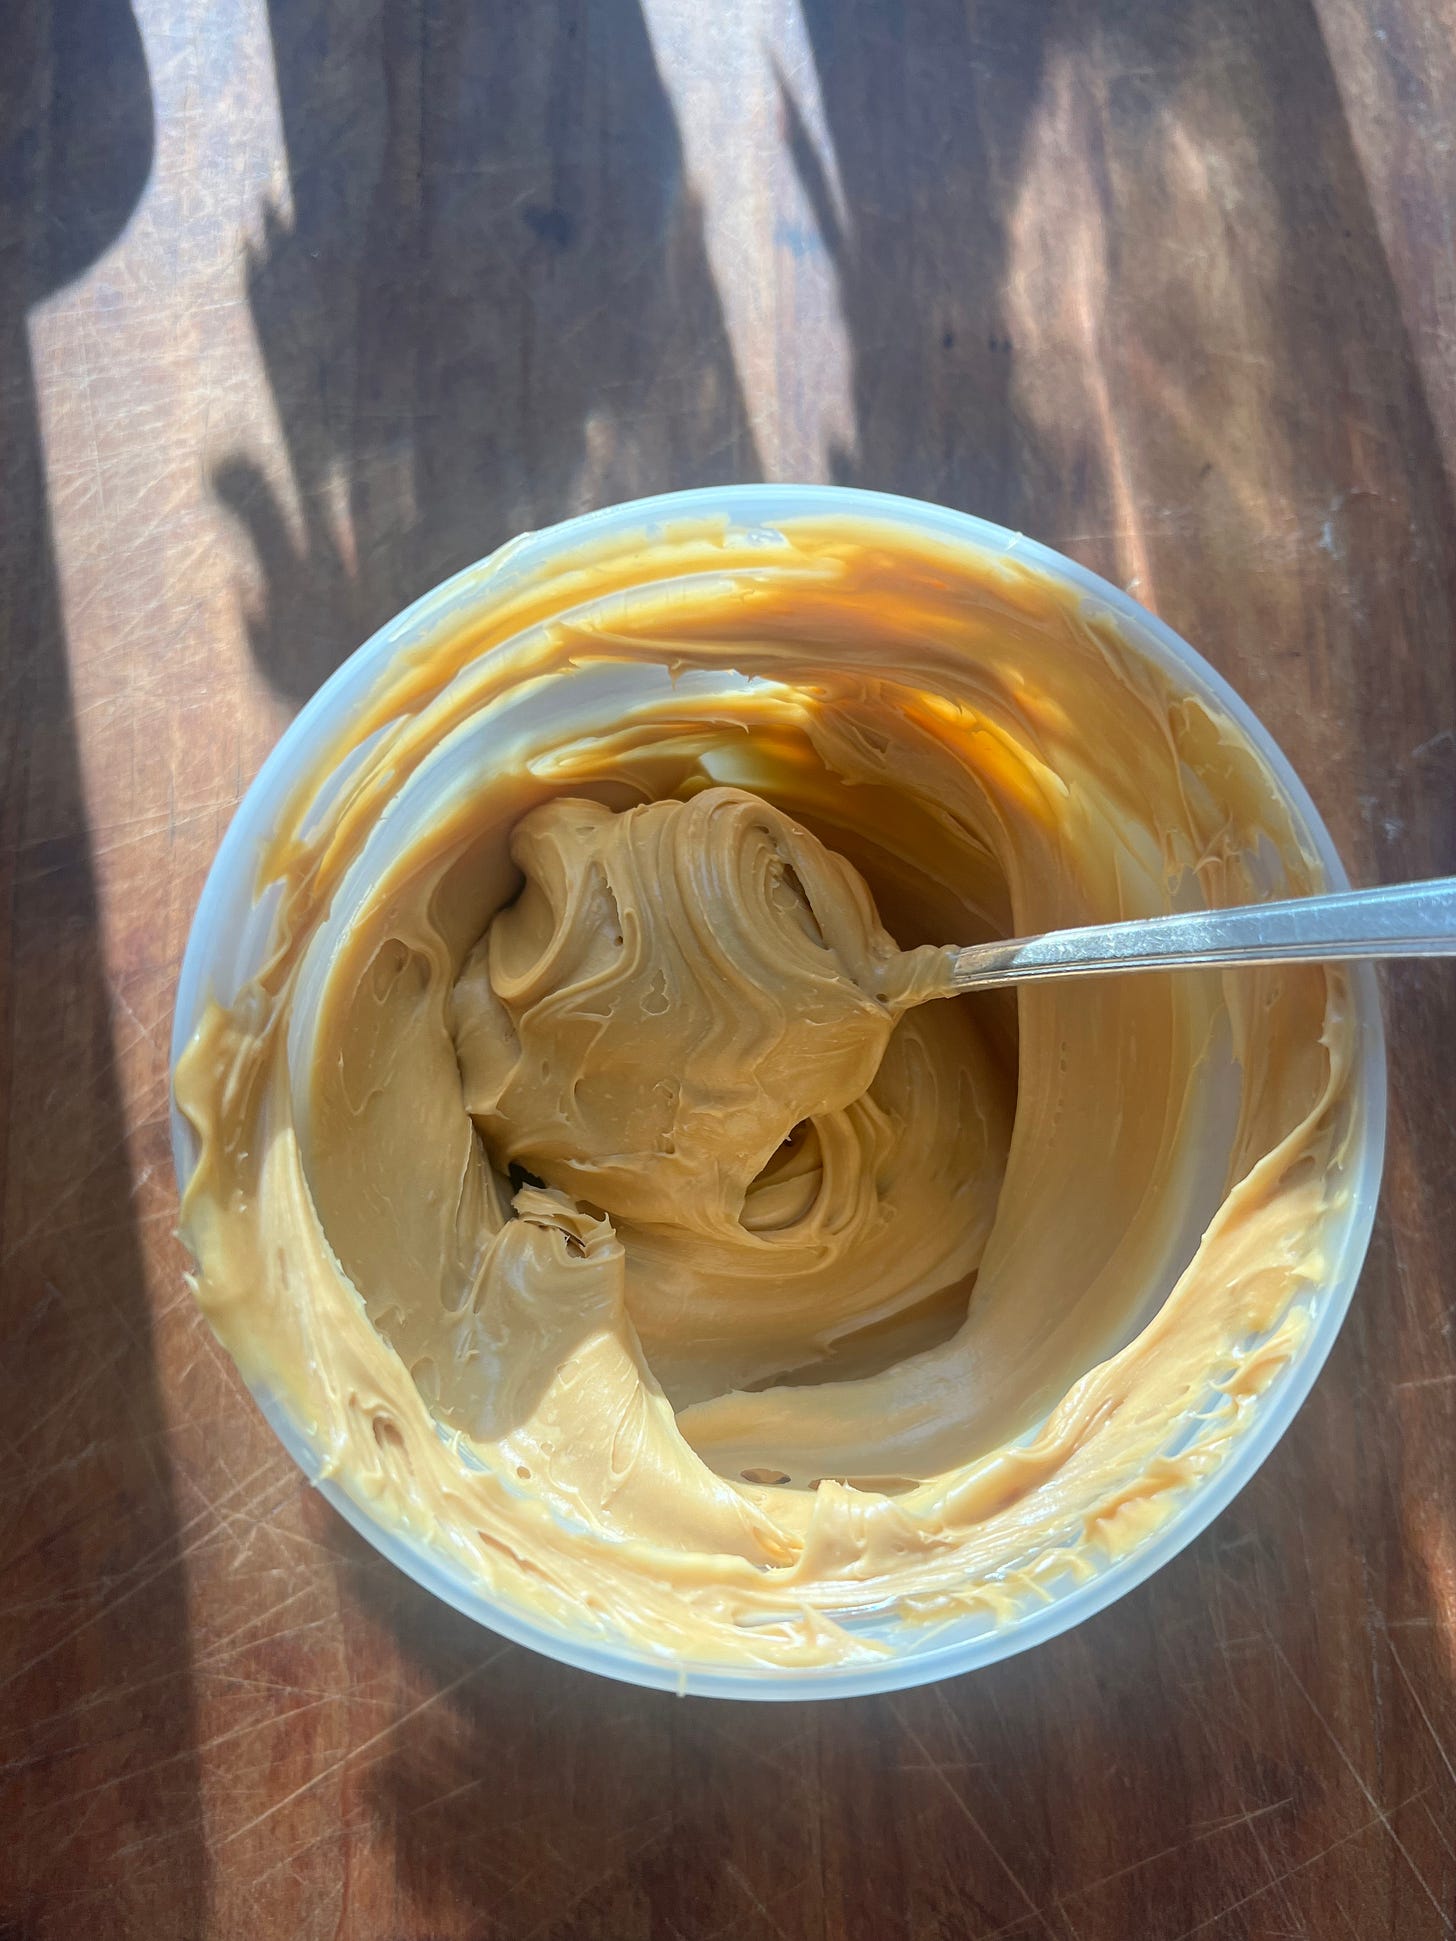
Whipped caramel. This is honestly the only way I want to eat caramel anymore. Since caramel has a high fat content it whips up beautifully. But, just like whipping heavy cream you want to whip it cold so the fat solids don’t separate and curdle.
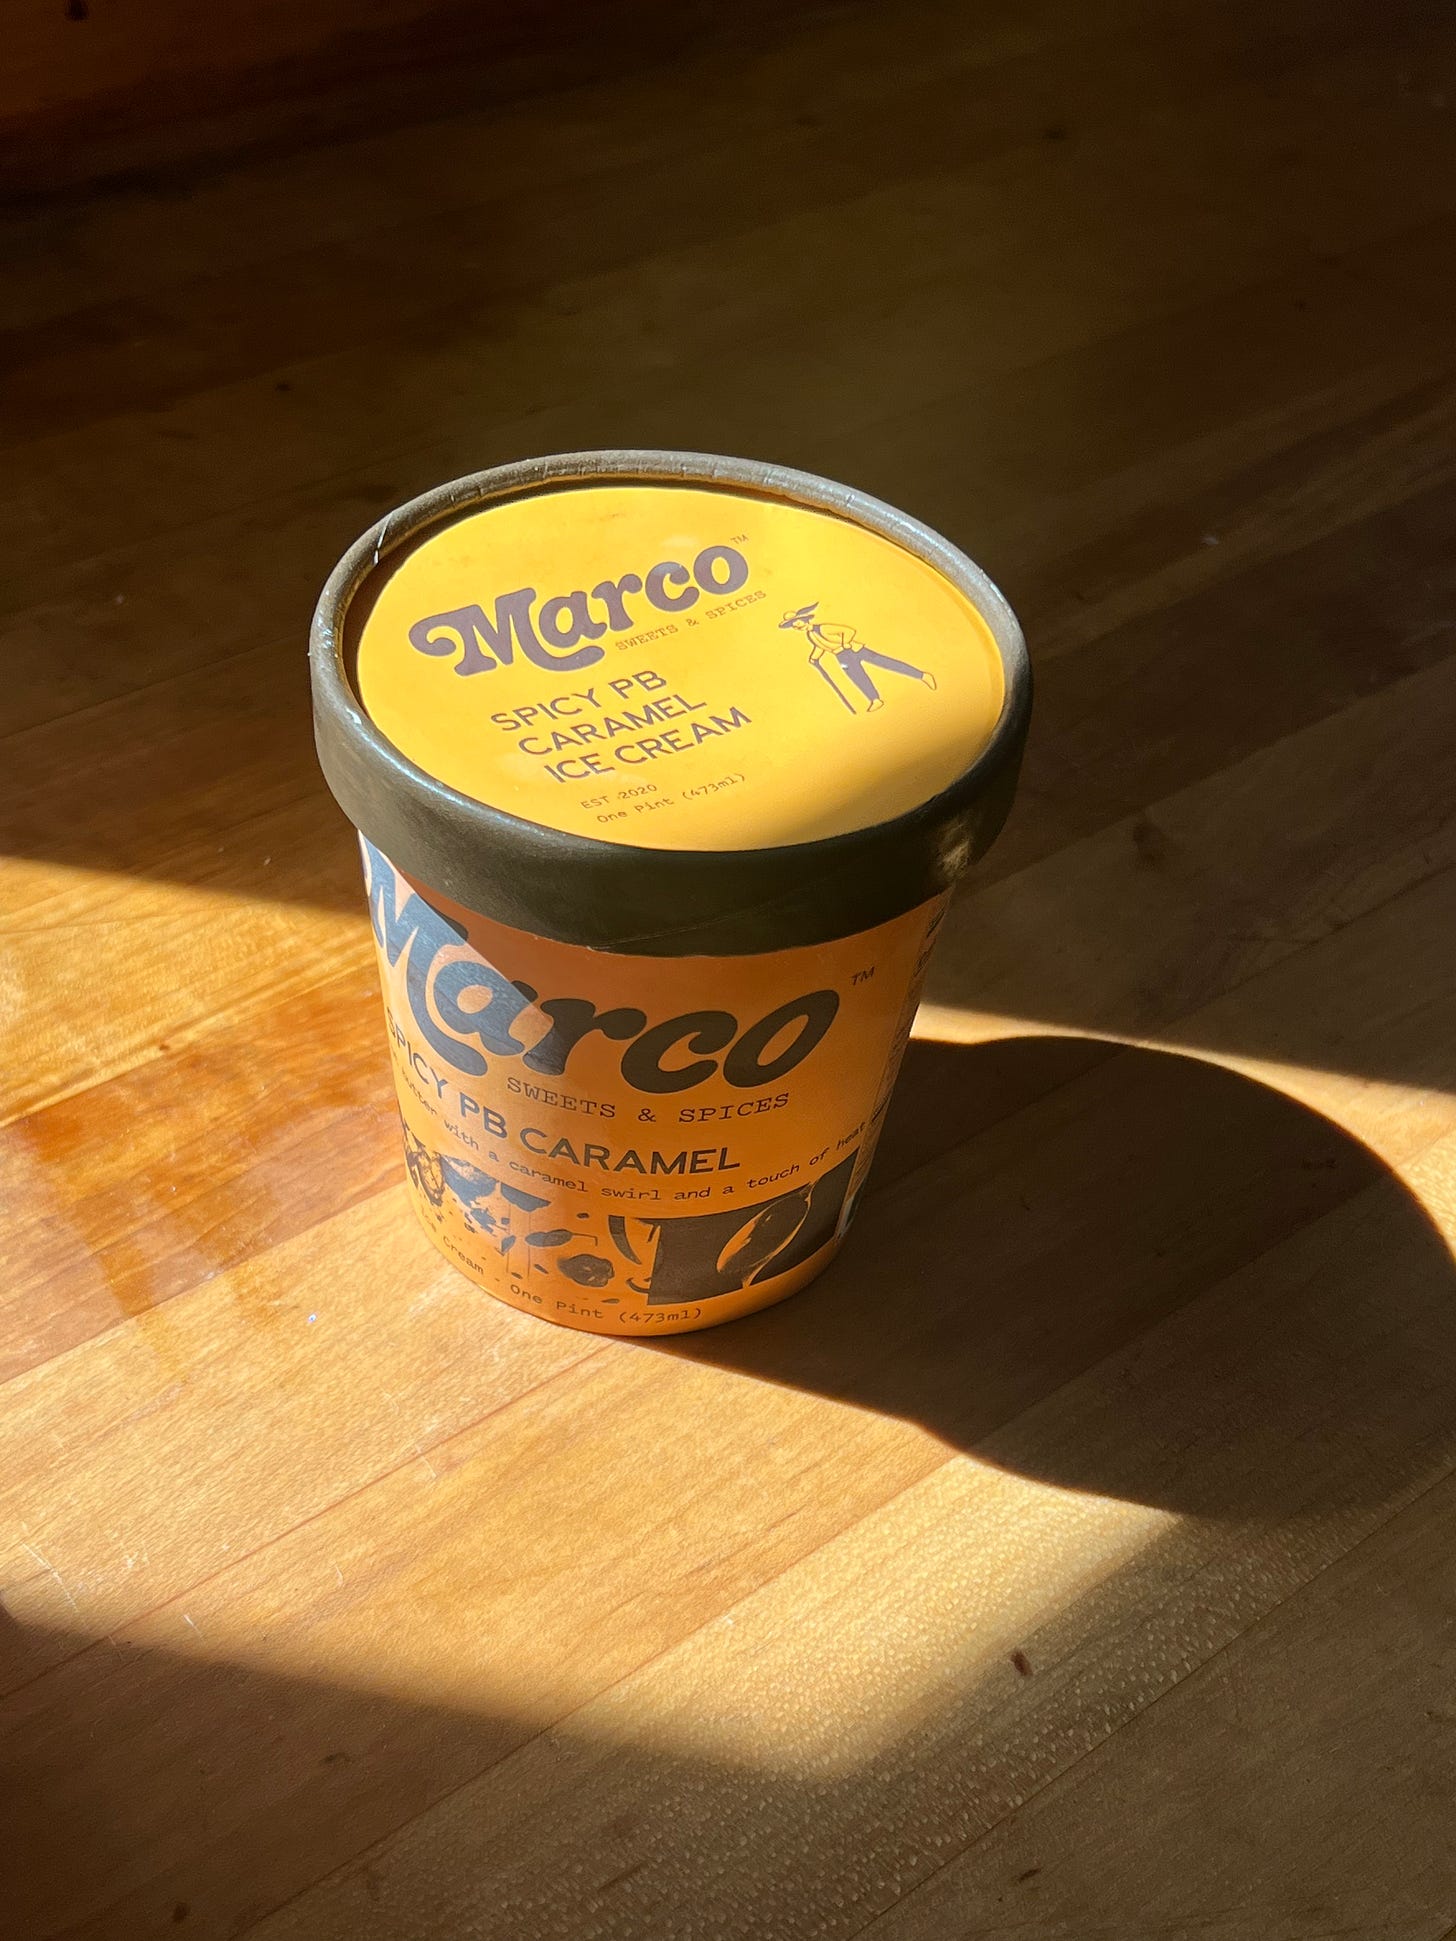
Marco Sweets & Spice Ice cream- big ice cream phase during September actually. The spicy PB caramel flavor is so good. The right amount of spice with a not too peanut buttery ice cream base. I also love a good caramel ribbon. They also have playlists that correspond with each of their flavors?? The key to my heart literally
Feed app- The Feed app reached out and sent me a few of their mystery boxes and I’ve ordered twice since. I got their produce, coffee and snacks boxes. I think they’re a great deal for the price point vs what you get. The coffee box for example, it came loaded up with a bag of beans and seven assorted canned coffee drinks for $35. I know for a fact each of these bougie little coffee cans is $5-$7 each and the beans are anywhere from $14-$18. For $20 off your first order of $35 use code: PRJIZ. (Not spon but, I also get $20 too)
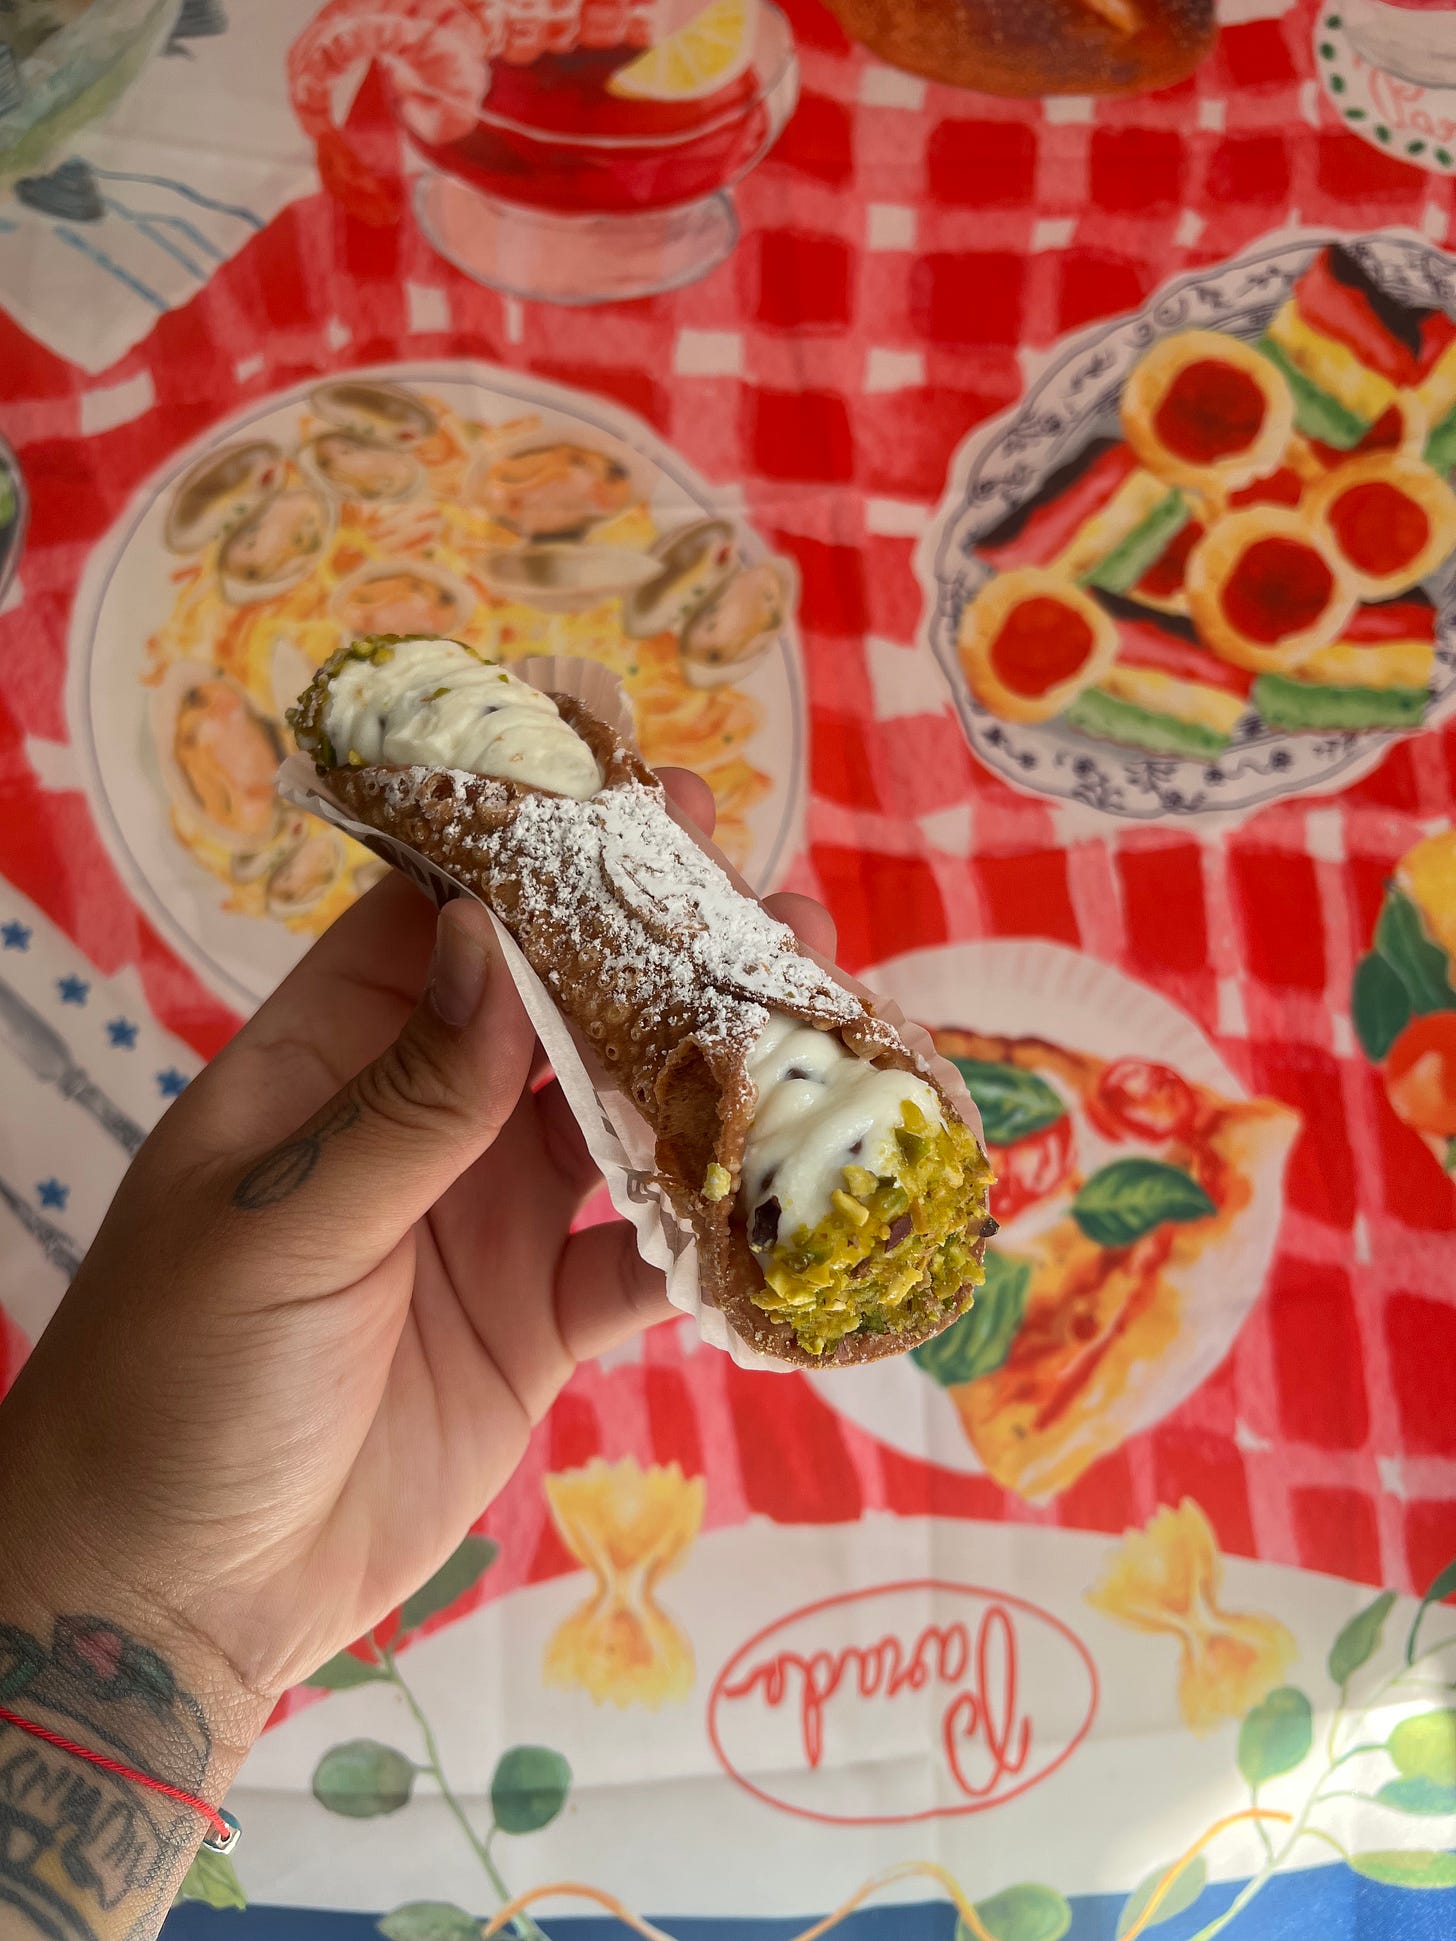
Cannolis from Eagle Rock Italian Bakery- Up until two weeks ago my monthly cannoli intake was 0. This month? We don’t really have to put a number on it but it’s HIGH. Specifically these ones though- I tried the ones from PIZZANA and hated them. The shell is the perfect thickness, the ricotta filling is perfectly sweet. They even have pistachio chocolate coated ones!! The pre-made pizza dough from here is also pretty bomb.
Outdoors-y Stuff:
Since it’s cooled down I’ve been back on my hot girl walk shit, here are a few of my favorite places to go for walks:
Lake Hollywood Reservoir- can be a pain in the ass to find parking on weekends, but it’s a nice 3.5 mile loop. Cute views of the Hollywood sign tho ♡
Silverlake reservoir- Always a fave BUT, it is spooky spider season and this place is crawling with ‘em. Be warned if you’re an arachnophobe like me.
Vista Hermosa Park- Hit or miss with parking but a nice little walking loop. Also, so cute for a picnic. Views of the DTLA skyline. Big plus, a bathroom <3333 But, cleanliness of said restroom is also hit or miss
Misc:
Beats Studio Pro- I have been eyeing a pair of over the headphones for a while now. Mostly because AirPods irritate the shit out of my ear after about an hour. I was originally looking at some of the more affordable Bose, Beats and Sony models but then Beats went and dropped the chocolate brown Studio Pros??? Ugh a big budget stretch so I’m chilling on ramen for the rest of the month but worth it. Comfy to wear, long battery life, and the noise cancelling aspect makes me fell like I’m truly in my own little world. The audio quality is crisp and clean- so much so you can hear when the produce threw a soda can in the trash in the studio-just kidding but like the audio is so clear.
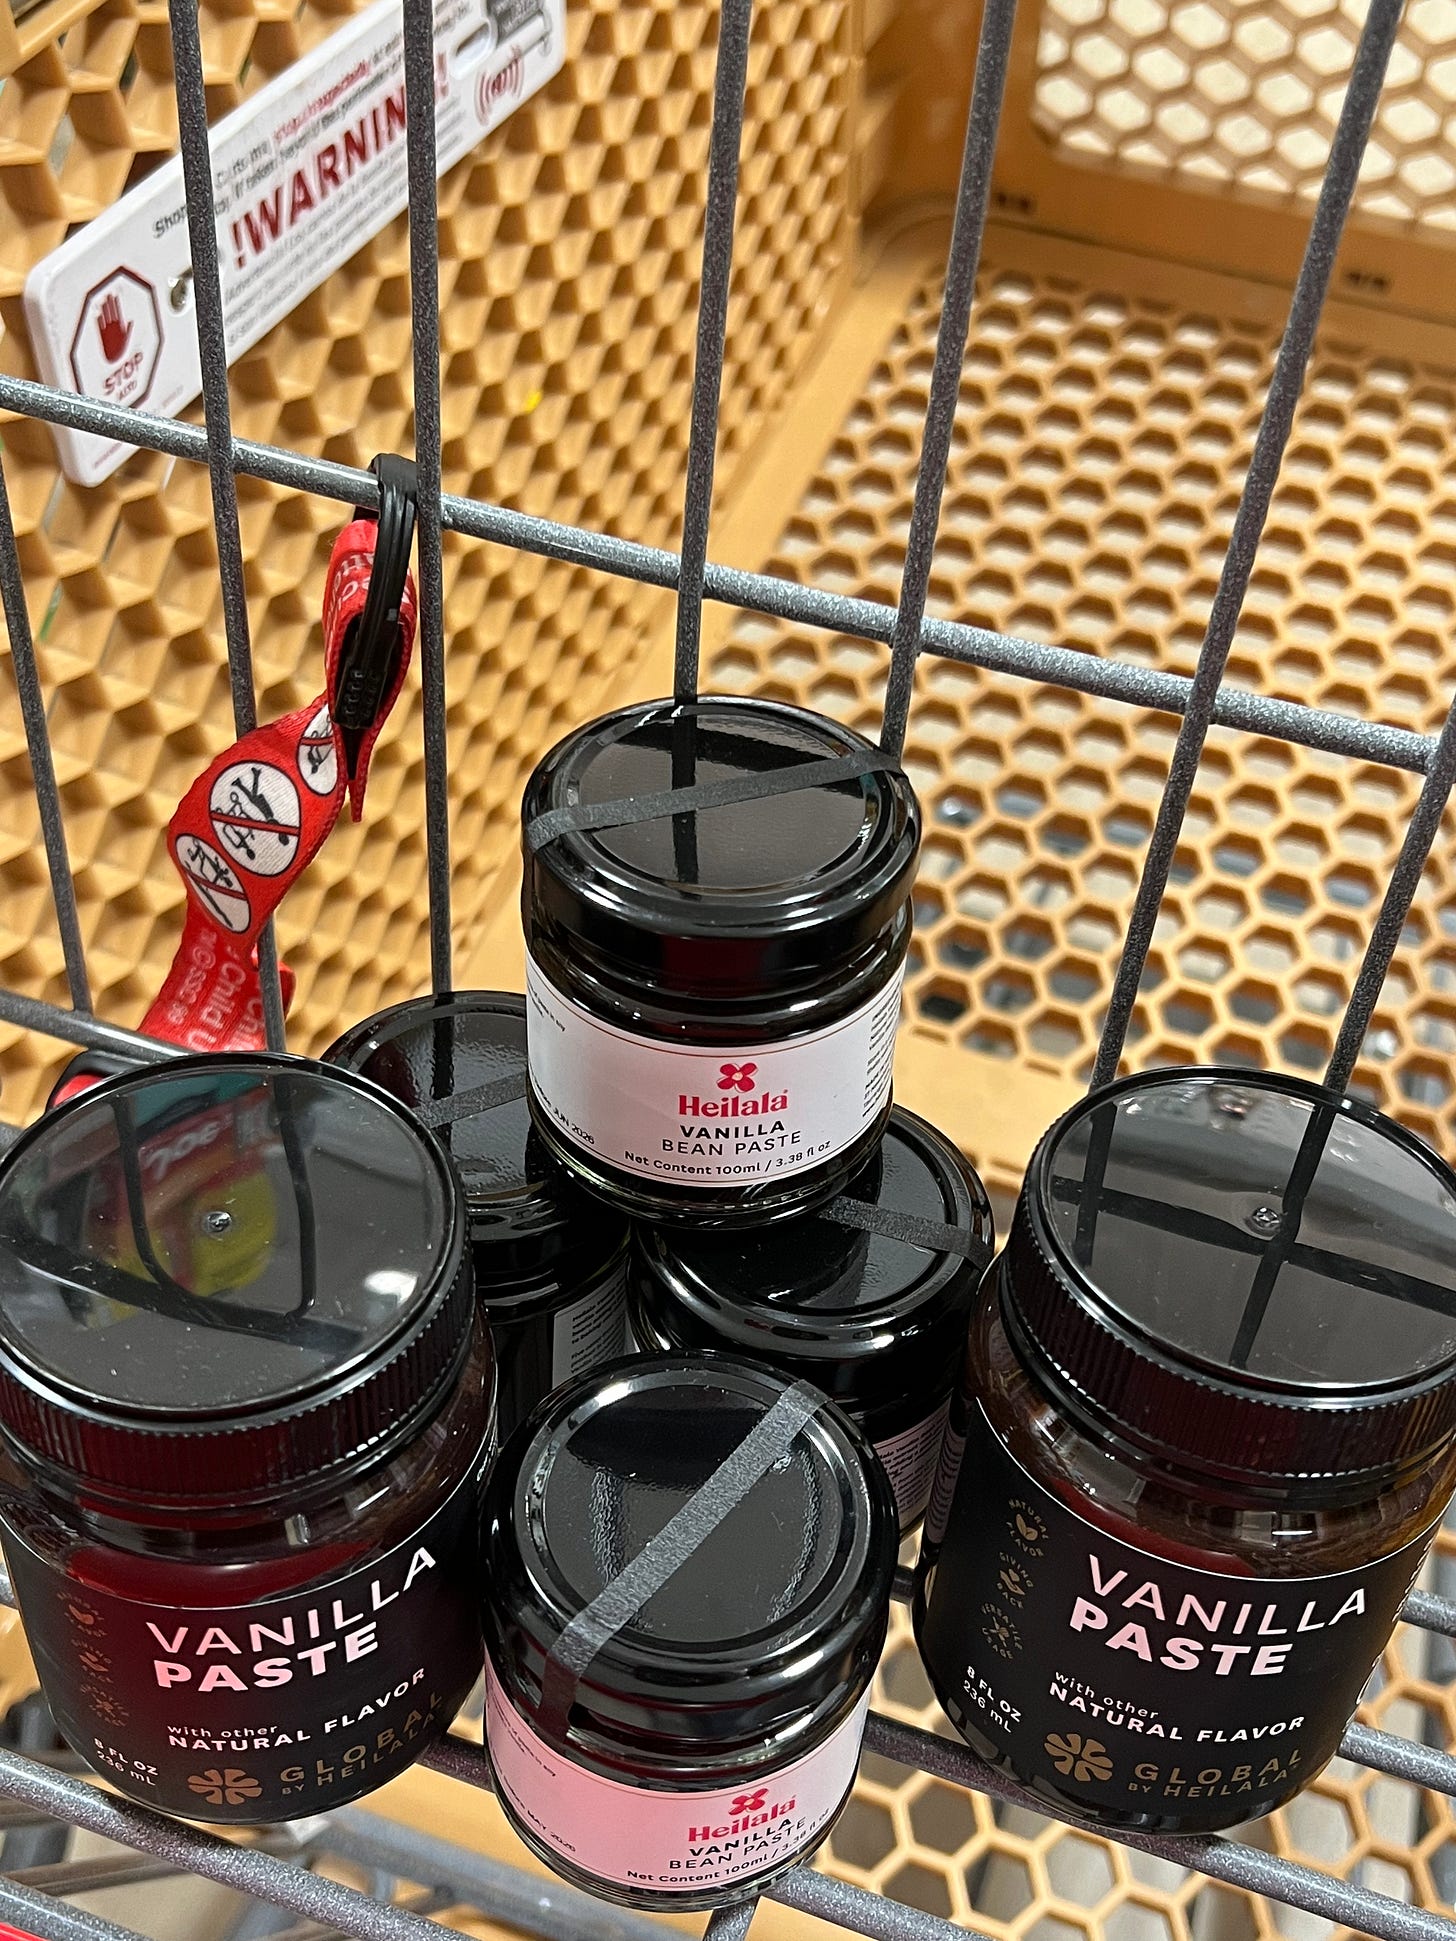
Marshall’s/Home Goods- It’s been a few years since I graced once of these stores. I forgot how good the deals are. I went in for new pillows and found heavily discounted Heilala Vanilla Bean Paste. So I naturally went to all the stores in my area on the hunt for affordable VPB and found all my curly girl hair products for a fraction of the price as well. I just looooove a good deal ok. But, yeah check these out in your area from the Heilala hook up!
Espresso Martini Cake:
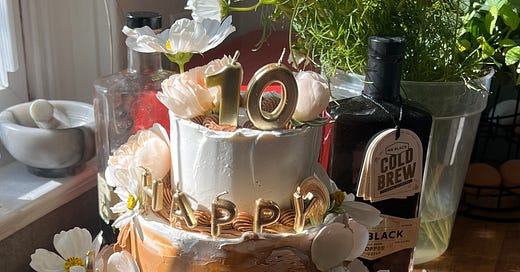
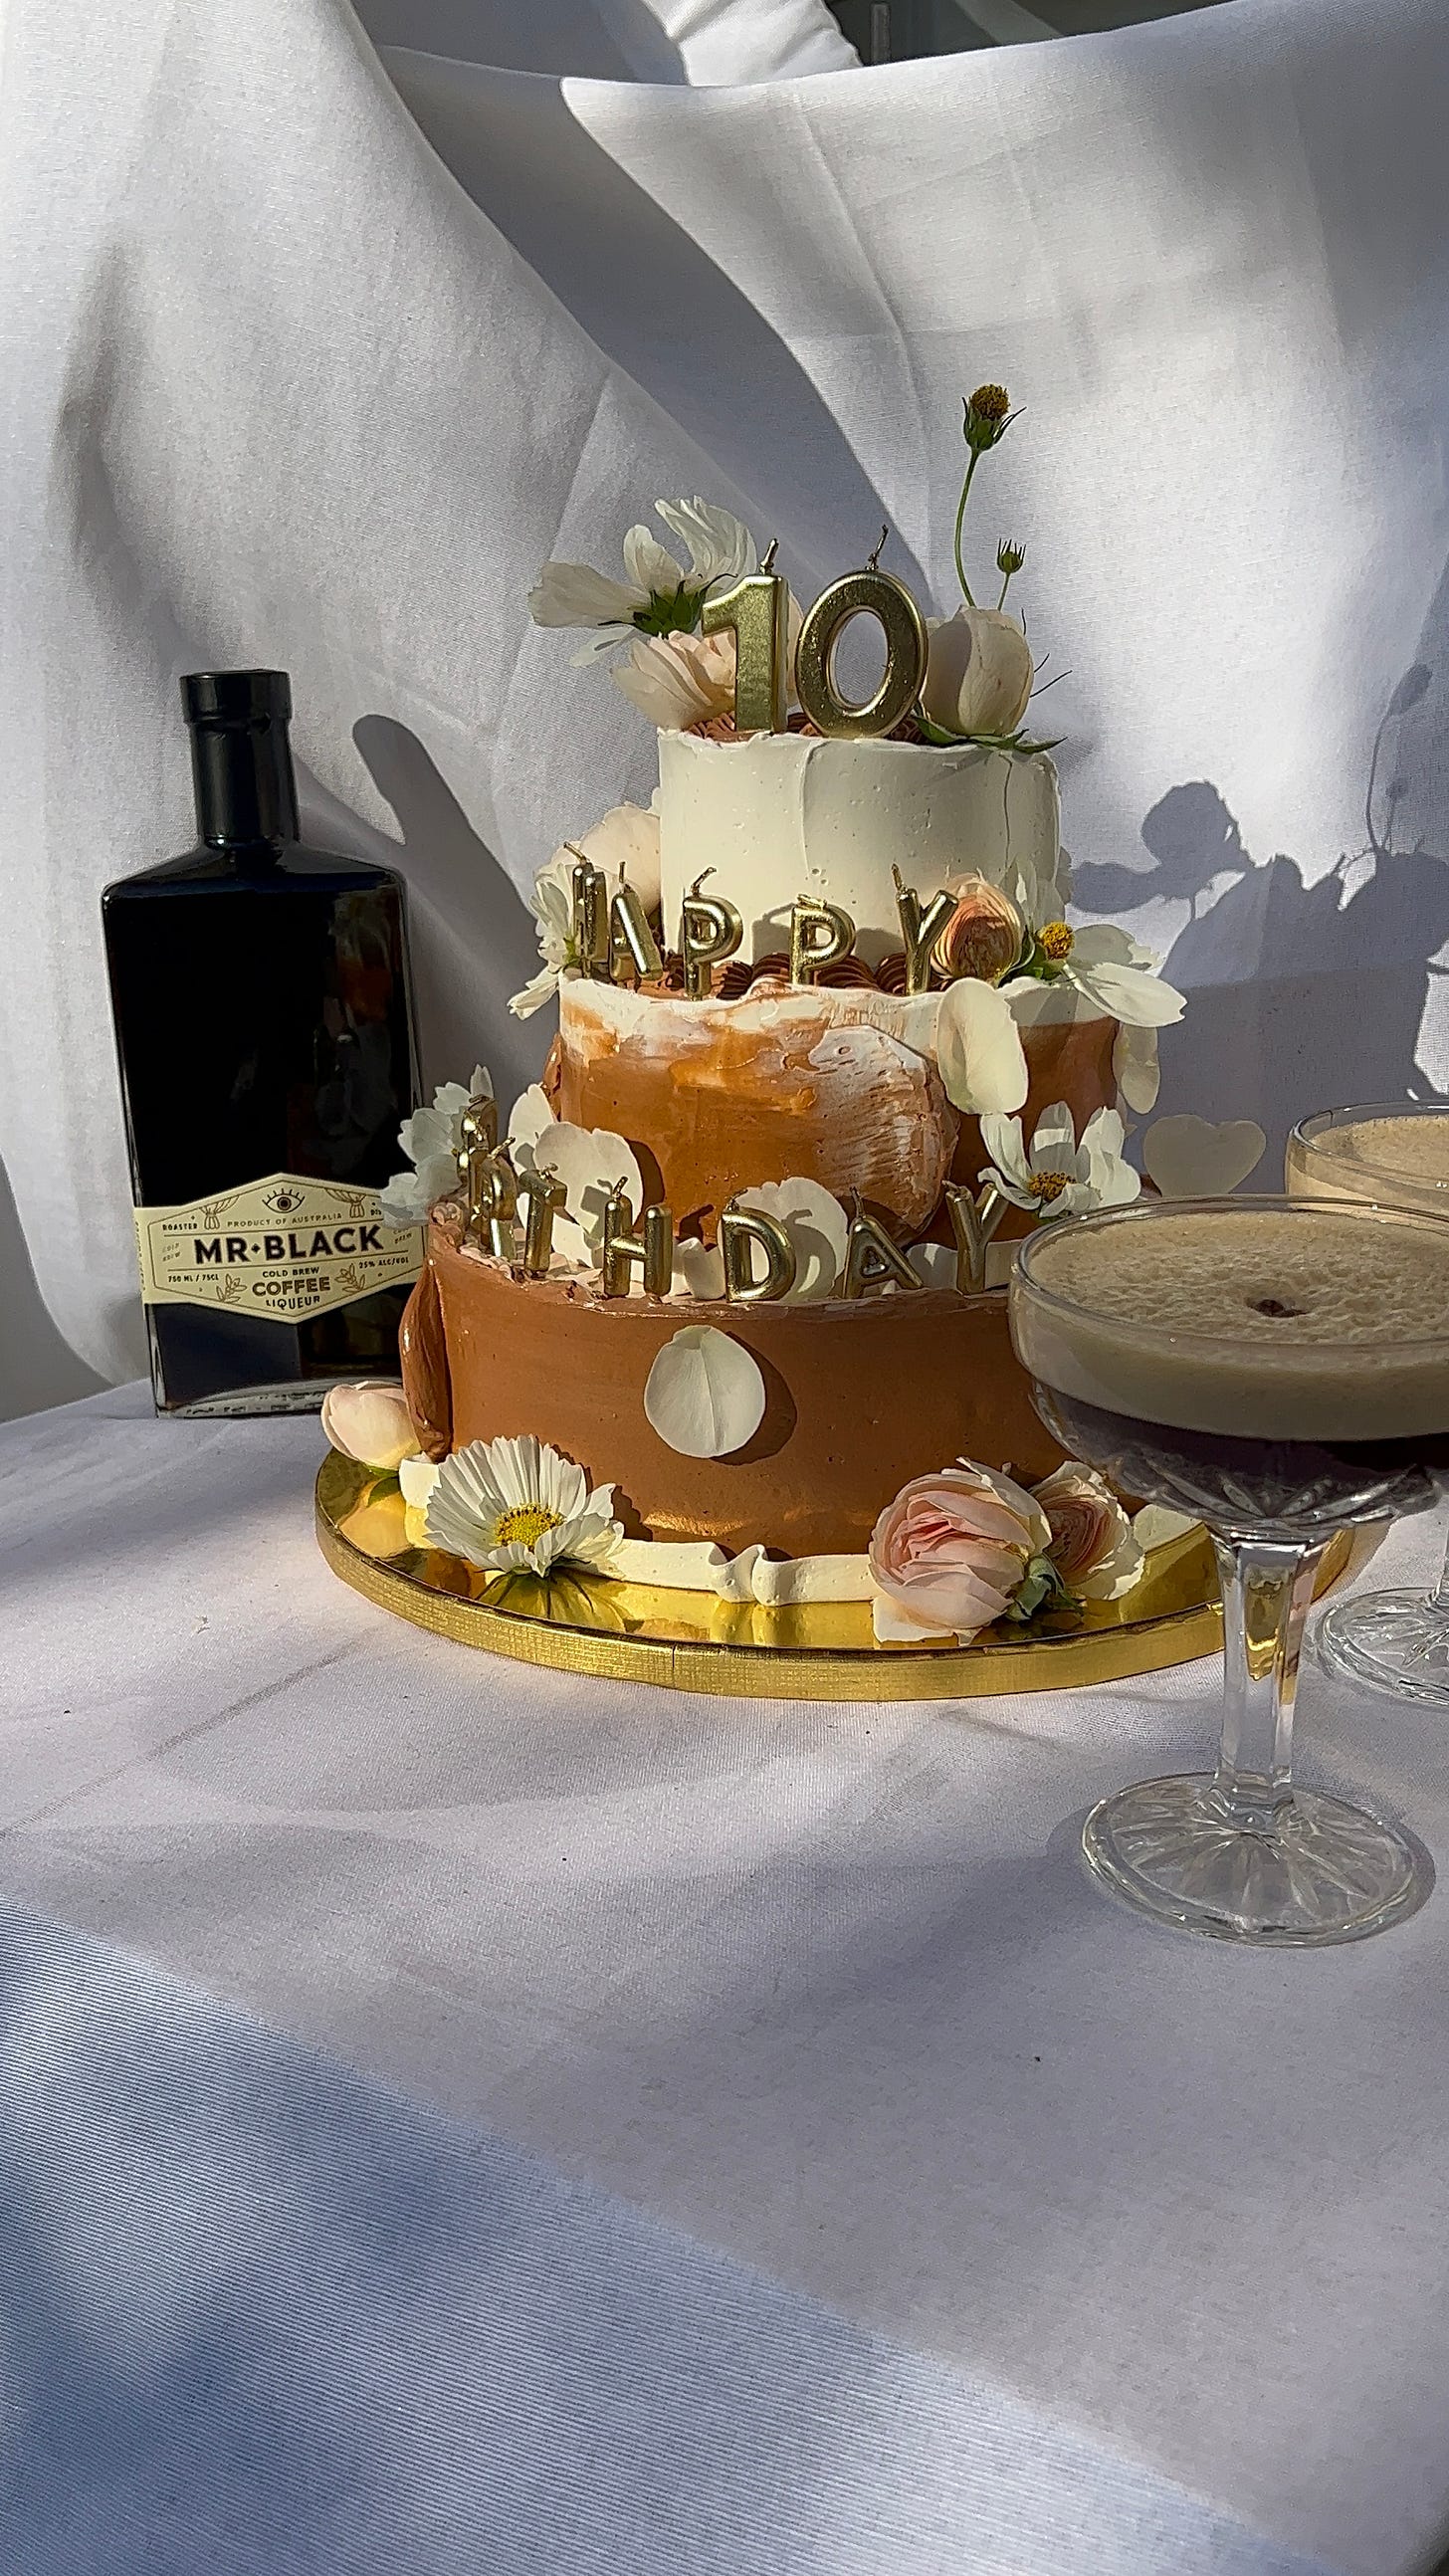
I was asked to help celebrate Mr.Black’s 10th birthday with a cake!! I don’t actually drink anymore but, one of my favorite ways to bring flavor to a cake sis with a flavorful alcohol. Mr.Black’s Coffee Liqueur is made with specialty-grade coffee from top growing regions that they roast and cold brew in house! My
favorite thing about it, is that it’s less sweet than other coffee liqueurs so it doesn’t affect the overall balance of flavor in the cake.
Mr.Black Sponge Cake:
Ingredients:
150 grams neutral flavored oil
150 grams whole milk
45 grams (1 oz) Mr.Black Coffee Liqueur
130 grams granulated sugar
160 grams all-purpose flour
20 grams cornstarch
1 ¾ teaspoons baking powder
½ teaspoon kosher salt
100 grams egg whites (approx 3 large egg whites)
60 grams dark brown sugar
15 grams cocoa nibs *optional*
Directions:
Preheat your oven to 340F and line 4-6" cake pans with parchment paper.
Combine the milk, canola oil, granulated sugar and Mr.Black Coffee Liquer. Set aside.
In a medium bowl, whisk together the flour, cornstarch, baking powder, and salt. Set aside.
Begin to whip your egg whites and brown sugar on a medium speed until they start to become foamy. You can use a hand mixer or stand mixer for this :)
Keep an eye on the egg whites as they whip, once you start to see visible trace lines of the tines of the whisk in the meringue—it’s time to combine the wet and dry ingredients.
Add the milk mixture into your dry ingredients, whisking to combine. Set aside until the meringue reaches stiff peaks. You want to do this as close to the meringue being ready as possible to avoid the starches absorbing too much of the liquid in the batter! It'll make folding in the egg white much easier and give the cake a fluffier rise!
Once the meringue is at soft-medium peaks, fold it into the batter 1/3 at a time, being careful not to over mix. Right before the meringue is fully incorporated into the batter add the cocoa nibs and incorporate them with the last few folds.
Weigh out 250 grams in each 6” tin.
Bake for 22-25 minutes for 6” cakes(it'll depend on your oven but you'll know when the cake is done when a toothpick inserted in the center comes out with a few crumbs and the edges start to pull from the pan. Or when the internal temperature reads 205F.)
Allow the cakes to cool for about 20 minutes before removing from the pan.
Allow to cool completely before stacking and decorating.
Espresso Martini Pastry Cream:
Ingredients:
320 grams whole milk
45 grams (1 oz) Mr.Black Coffee Liqueur
15 grams (.5 oz) Vodka
30 grams (1 oz) espresso
¼ teaspoon kosher salt
100 grams egg yolks (approx 5 large egg yolks)
85 grams granulated sugar
20 grams cornstarch
85 grams unsalted butter, cold
Directions:
Place your milk, Mr.Black, vodka and espresso into a medium saucepan over medium heat.
While that heats up, whisk together your cornstarch, sugar and salt to eliminate any lumps. Add your egg yolks and whisk together until a homogenous paste forms. You’'ll really want to aerate this for about a minute or two- it’ll help the milk mixture to temper easier in the next step!
Once your milk mixture is at a simmer, temper into the yolk mixture. To temper: ladle in a small amount of the hot milk into the yolks, whisking to combine. Add another ladle full and repeat. Do this about 3/4 times before adding the tempered yolk mixture back into the saucepan. You do this to slowly bring the egg yolks up to temp and avoid shocking/scrambling them. If the egg yolks scramble it will leave you with a grainy texture and eggy taste.
Once tempered add the egg yolk mixture back into the saucepan.
Whisk constantly to avoid scrambling. Continue to whisk until your cream begins to thicken and reaches a soft boil (a few slow popping and thick bubbles will form.)
At this point remove your cream from the heat and strain into your desired container. This is the final frontier to make sure you don’t have any scrambled eggy bits in your cream. Add your butter and immersion blend until smooth. If you don’t have an immersion blender you can use a regular blender or just whisk to combine. The immersion blender leaves you with the most perfect creamy texture.
Cover directly with plastic wrap. Label and date the container!
* If you find your PC has been set too firmly in the fridge when you go to use it, put it in the mixer with the paddle to loosen it up a bit. or do it by hand with a spatula *
Brown Sugar Swiss Buttercream:
Ingredients:
150 grams egg whites
275 grams brown sugar
300 grams unsalted butter, room temp
Kosher salt to taste
Directions:
While you weigh out your ingredients, fill a pot with about an inch or two of water. Place over medium heat and bring to a simmer.
In a bowl that fits over the pot without touching the water, place your egg whites and brown sugar. Whisk until homogenous.
Place the egg white mixture over the simmering water. Whisking constantly until it reaches 165F. No thermometer? No problem! If you stick your CLEAN fingers in and feel no sugar granules when you rub them, together you’re good to go. Another general rule with this finger test is, if you can’t keep your fingers in for more than 3 seconds due to the temp of the egg whites, probs got a mixture that's at least 165F.
Once at temp, move the egg white mixture to the bowl of a stand mixer. (Yes, you can use a hand mixer, just expect to be here for a while). Beat on medium high with the whisk attachment until you reach medium/stiff peaks and the sides of the bowl are tepid to the touch.
Add the butter to the mixer on low… and what i’m about to say might shock you but you can add the butter all at once. No need to add it in cubed pieces over the span of an hour, especially for this batch size.
Let the buttercream whip until it comes together. Add your salt and any other flavor inclusions you’re feeling. Then let it go for 10-15 minutes.
After using the whisk attachment switch to the paddle attachment for another 10 minutes.
Frost a cake & enjoy!!
To assemble:
On a cake board or plate place a little dollop of buttercream to secure the cake.
Place down a layer of cake. Using a piping bag full of buttercream, pipe a dam around the outer edge of the cake.
Fill the center with 1/3rd of the pastry cream.
Place the next layer of cake and repeat with the following layers until everything is assembled.
If you find yourself having trouble and layers beginning to shift- pop the cake in the fridge between layers to allow the buttercream to set and firm up a bit.
Once the final layer has been placed. Crumb coat the entire cake (apply a thin layer of buttercream to lock any crumbs into place so they don’t end up in the final coat). Allow the crumb coat to set for 30 minutes before applying the final coat of frosting.
Decorate however your heart desires!
Store in the fridge until an hour or two before enjoying. Allow the cake to come back to room temp before slicing and enjoying with an espresso martini on the side!







Does this make 4 6" cakes? For some reason I only had enough batter in weight for 3. Next, should the egg whites & dark brown sugar be whipped to stiff peaks or medium-soft? Steps 6 and 7 seemed conflicting. But smells heavenly and baked up nice 🖤
Cannot WAIT for whipped passion fruit caramel